En Internet abundan los dados de distintos tamaños, colores y formas, ¡parece que no hay quien se los acabe! Pero no quieres que tus dados se parezcan a los de todo el mundo. Por eso es una gran idea empezar a fabricar tus propios dados de resina en casa en lugar de comprarlos por Internet.
Es fácil y divertido. Incluso puedes convertirlo en una actividad amistosa si tus amigos quieren unirse a la acción.
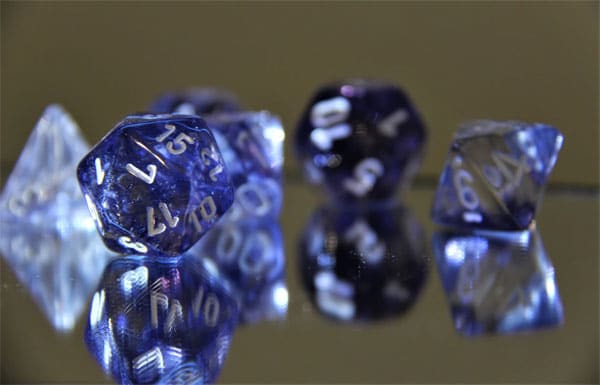
You can customize your dice colors, shape, symbols, and adornments, or even make them match your favorite board game. You can also make as many as you want, as long as you have the materials to do it! It may take a little more effort and sweat, but we promise you that the rewards greatly outweigh the demerits.
Materials for Making Your Resin Dice
Let’s gather your materials and start customizing very your own resin dice!
Generally, you’ll need the following materials to start making your resin dice:
- 1 set of master dice of your choice
- Respirator mask
- Silicone rubber (or epoxy putty)
- A clean space to work on
- Popsicle sticks to use for stirring
- Solo cups (mini) or rectangular container
- Measuring cups
- Reusable or disposable gloves
- Selection of embellishments for your dice such as hobby paints
- Exacto knife (or any sharp cutting tool)
- Sculpey oven-bake clay
- Resin pigments like mica powder or alcohol inks
- Clean cut pliers
- Sandpaper
- High-quality clear casting epoxy resin
- Toothpicks
- Hand drill
- Superglue
- Hot glue gun
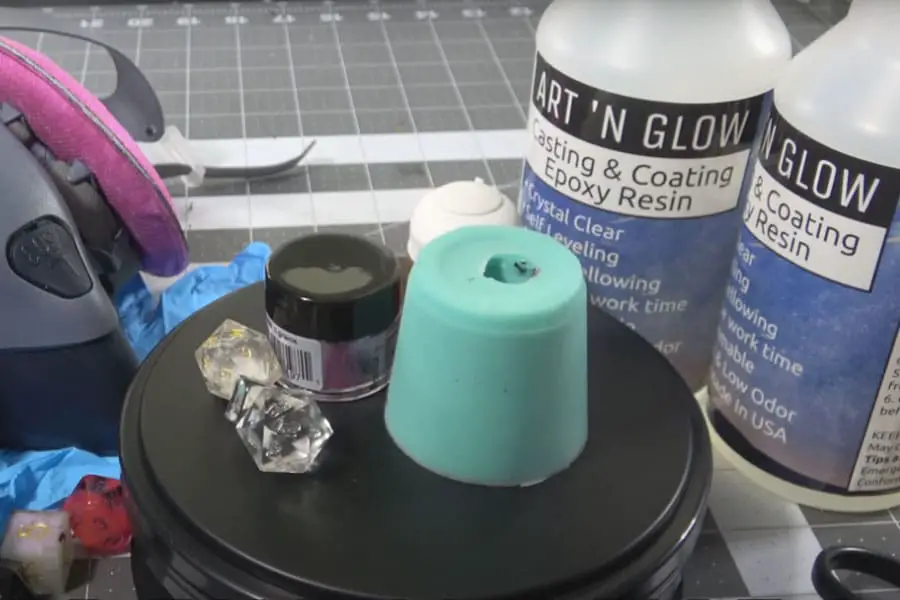
The Best Casting Resin for Dice Making
When making your resin dice, you’ll want to use casting resin that has been proven to produce high-quality results.
Art ‘n Glow Clear Casting and Coating Epoxy Resin – Best Choice
- Safe, affordable, and easy to use
- Great for making resin dice
The Art ‘n Glow Clear Casting and Coating Epoxy Resin is great for making resin dice. It’s safe, affordable, and easy to use. It results in crystal clear dice, too. Our favorite thing about this product is its self-leveling, self-degassing, and odor eliminating properties. It’s definitely the most convenient out of all resin options on the market!
Hate yellowing? Art ‘n Glow is also resistant to yellowing from sun exposure, so you don’t have to worry about your dice colors getting affected by sunlight. One downside to this wonderful product, however, is that if it’s exposed to too much heat, the resin softens and can become vulnerable to deformation. We suggest storing your dice in a cool place to avoid any incidents like this one.
How to Make Dice Molds for Resin
Once you’ve gathered all the materials you need, you can now move on to making your dice molds. There are pre-made molds that you can buy online, and we’ll talk about that in a later section. But first, we want to show you how to make your own mold.
Making your own mold allows you to customize the way your dice will look. Is it going to have numbers? Or do you want it to display other symbols? What symbols would you like to use? And how many sides do you want it to have? You can do absolutely anything you want!
In this section, we’re going to show you how to make Cap (Squish) Molds.
Cap (Squish) Mold
Cap molds are perfect if you want to get a whole set of dice from one mold. We like this method because it doesn’t require you to drill a hole into a perfectly good die.
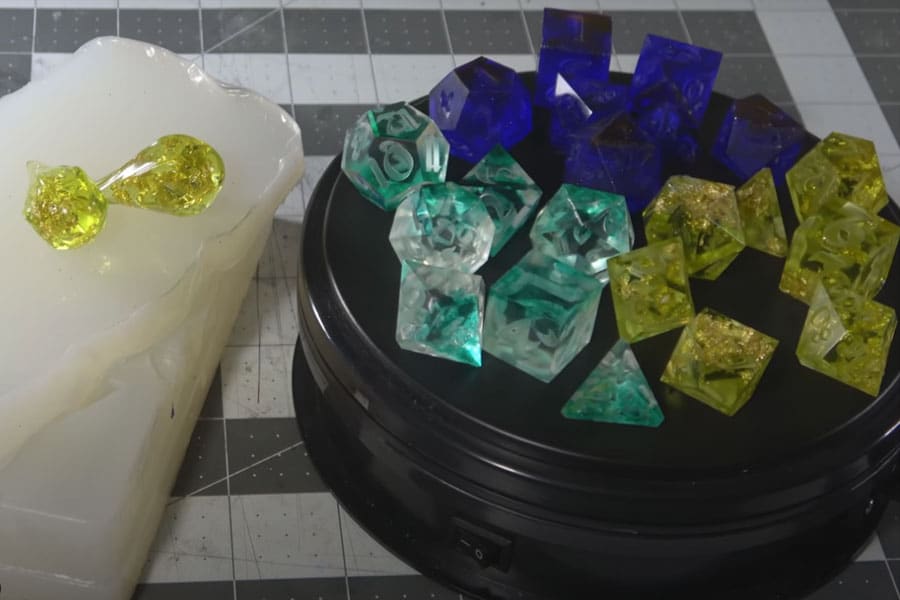
For this, you’ll need a container (something with enough space to contain a whole set of D&D dice):
- A master set of dice
- Some clay
- Packing tape
- Rubber bands
- A toothpick
- An Exacto knife
- Silicone rubber
Paso 1
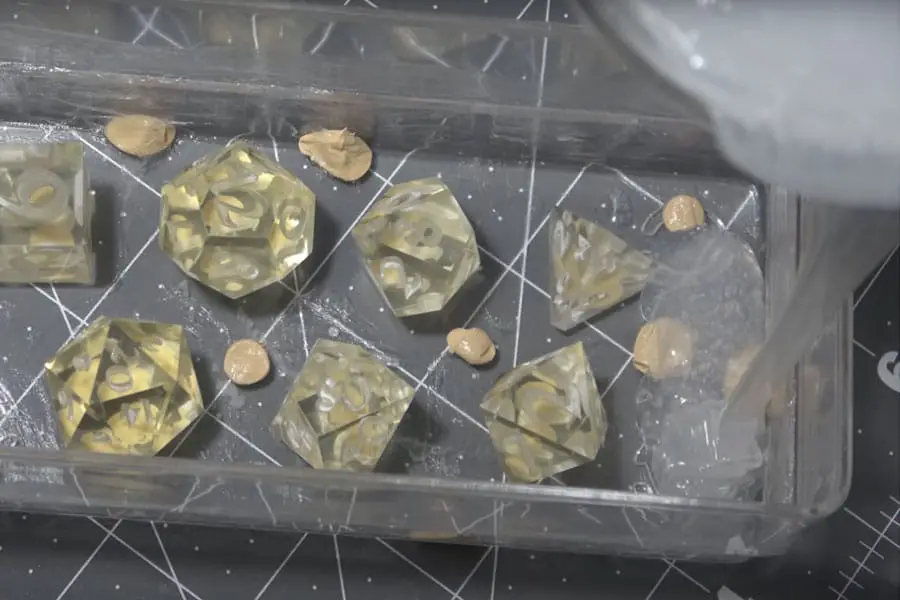
Take your dice set and put a small pebble of clay on the bottom side of each dice. You’ll want to use Sculpey clay, as it works better with silicone. This clay is what’s going to hold your dice down to your container and keep it from moving around when you start pouring your silicone.
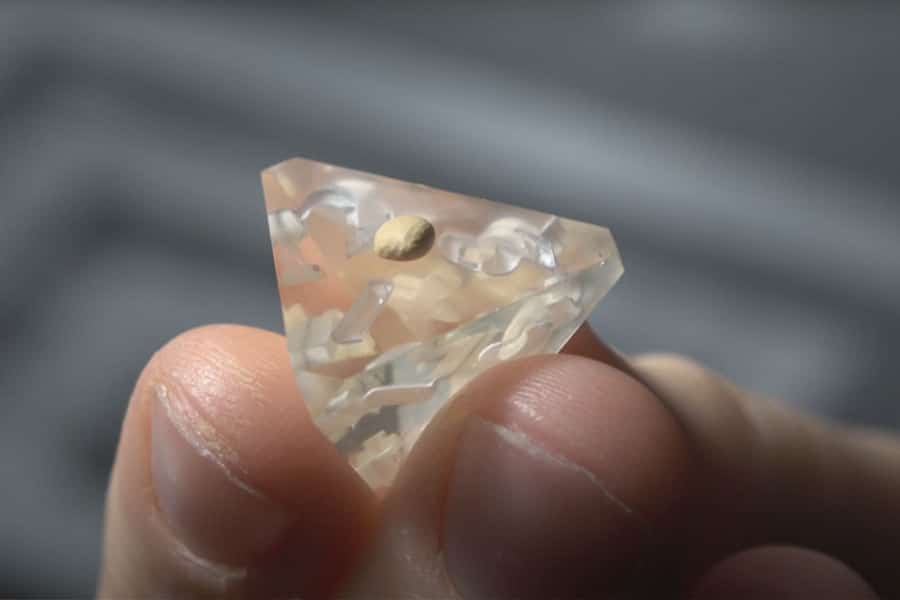
You’ll want your clay to “squish” down thinner than paper. Any excess clay will only lead to excess silicone, which can make it difficult for you to pull out your master dice later.
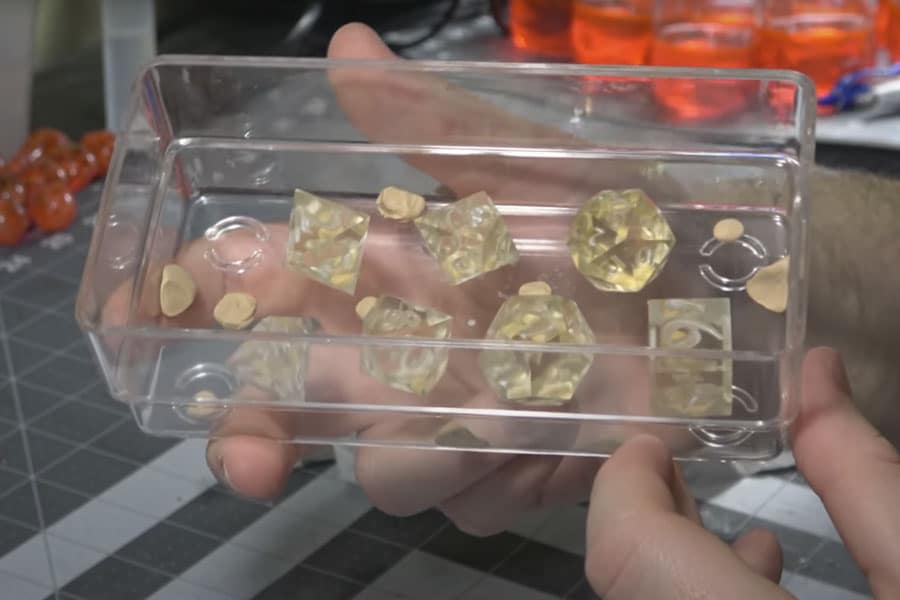
Paso 2
Once you’ve got all your dice secured in your container, you can move on to making registration marks using your Sculpey clay. Registration marks help the top part of your mold to sit exactly in the same spot every single time, so you don’t have to adjust it every time you’re making dice.
Paso 3
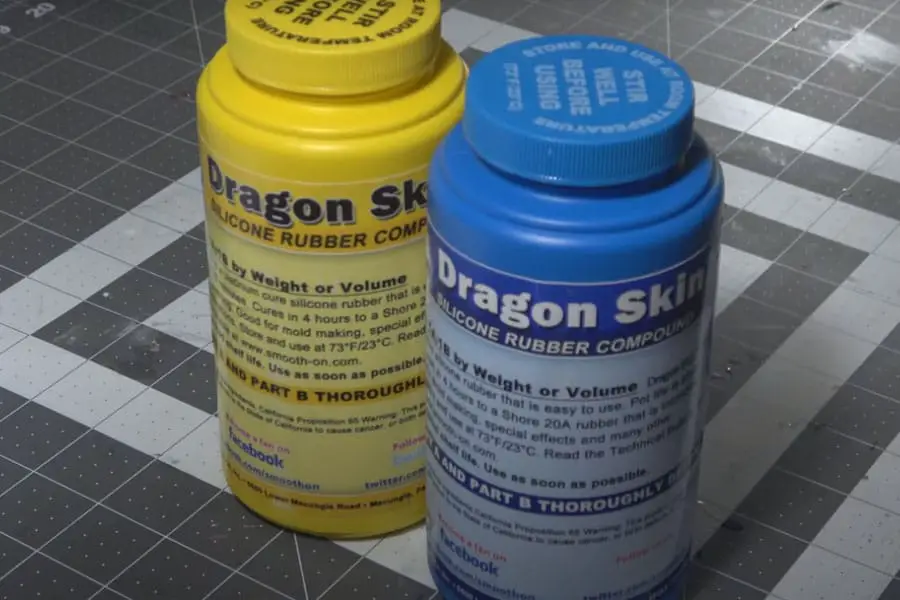
Now, it’s time to prepare your silicone for pouring. In the previous method, we used SORTA-Clear, but since you’re going to be handling silicone a little more roughly in this method, we recommend you use SMOOTH-ON Dragon Skin 20. Of course, you can use any type of silicone you want. But the tendency is, these molds can easily tear, so be prepared.
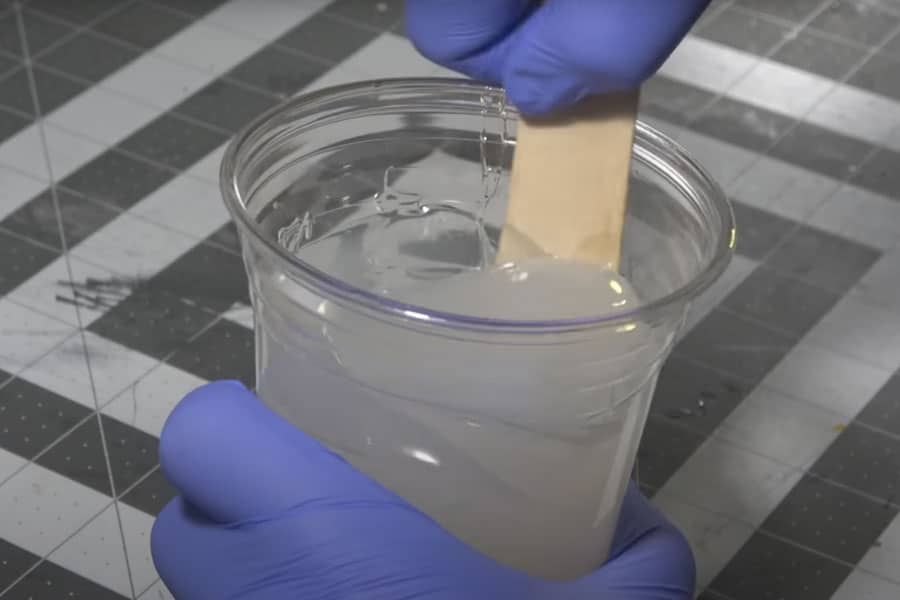
Measure a 1:1 ratio of both the A and B mixtures and combine them into a cup or container. Mix for about 5 minutes before you proceed to pour the mixture into the container holding your master dice.
Paso 4
Just like when you make sprue molds, when you pour silicone for your cap molds, make sure to do it as slowly as you can. This ensures that your silicone covers all the nooks and crannies of your master dice. Only pour on the sides and not directly on top of your dice, as this can ruin your mold later on.
Leave your mold out to set or, if you have a pressure pot, you can leave your mold in there to set. Make sure the surface that your mold is sitting on is leveled, so you get even sides when the curing process is done.
Paso 5
Once your mold has been set, you can start taking it out of your container. Don’t pry or force it out — loosen the sides with your Exacto knife and slowly pull it out of your container.
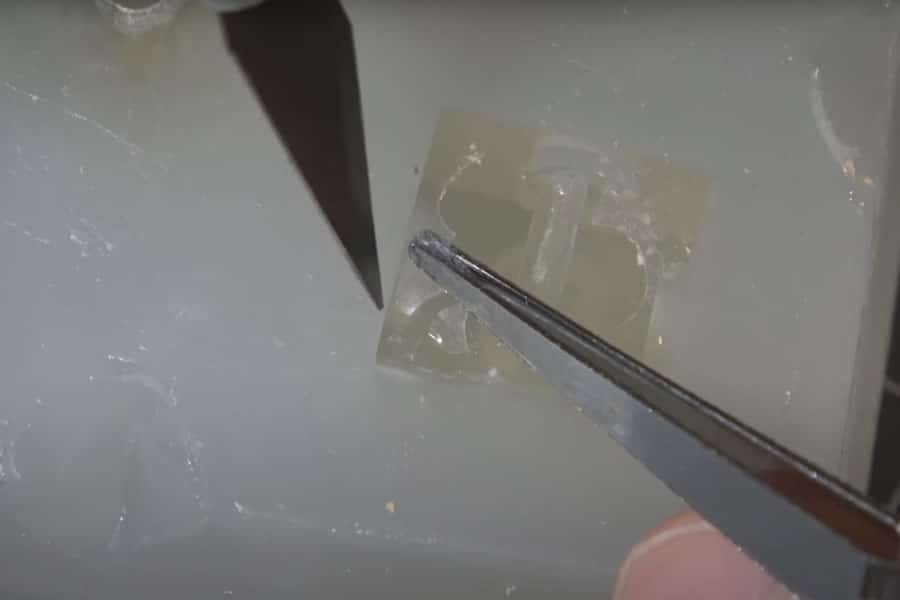
After you get your mold out, you can begin taking out the clay and cleaning off the excess silicone from your mold. You can do this with your Exacto knife, a toothpick, and (if you have them) little clippers to hold up excess silicone to cut.
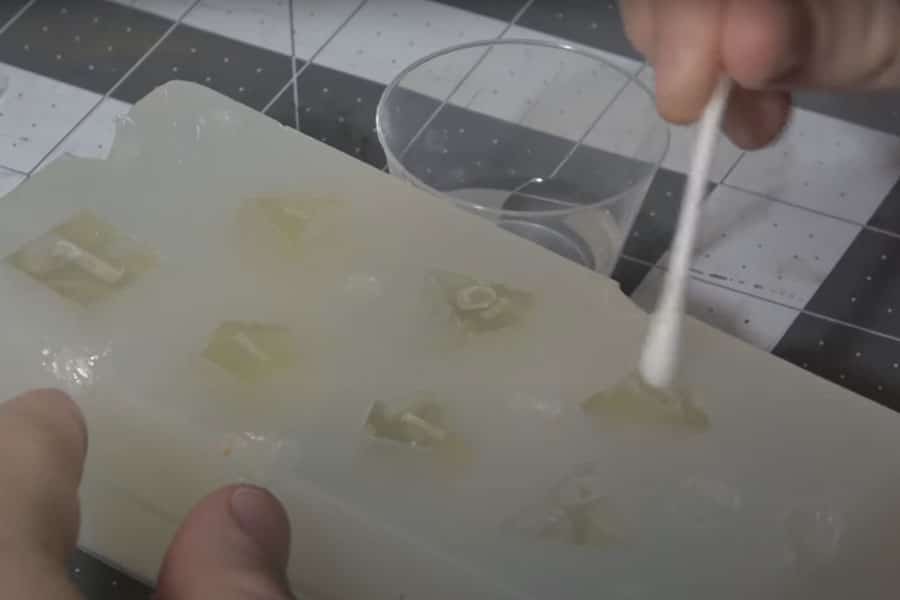
Once all the excess silicone is removed, you can proceed to clean up the surface of your mold. Don’t take out the dice because we’ll be needing them to make your mold cap. Just run a Q-tip over the surface of your mold. Make sure to soak your Q-tip in alcohol to get a really clean top.
Paso 6
After everything is clean, proceed to apply petroleum jelly to the surface of your mold.
You’re going to want to keep that clean because any oil or jelly left on there will prevent the silicone from sticking.
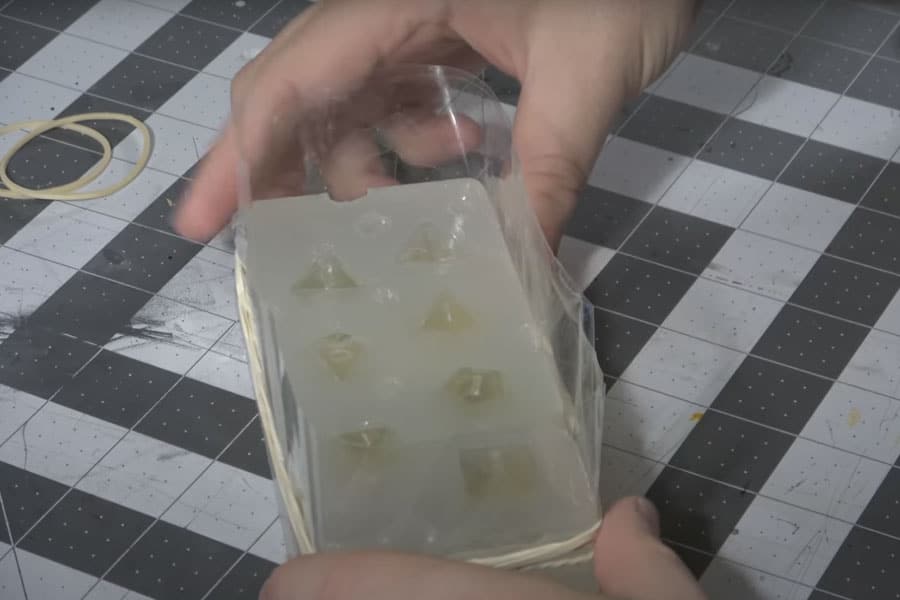
Once your done lubricating your mold’s surface, get some packing tape and create a dam for your mold cap. Secure the dam with a few rubber bands.
Mix another batch of Dragon Skin 20 and pour it onto your mold. Again, slow and long, so it covers all surfaces completely. Set it aside on a level surface or put it into a pressure pot to cure.
Paso 7
If you used enough petroleum jelly in the previous step, you should be able to peel the mold cap off pretty easily.
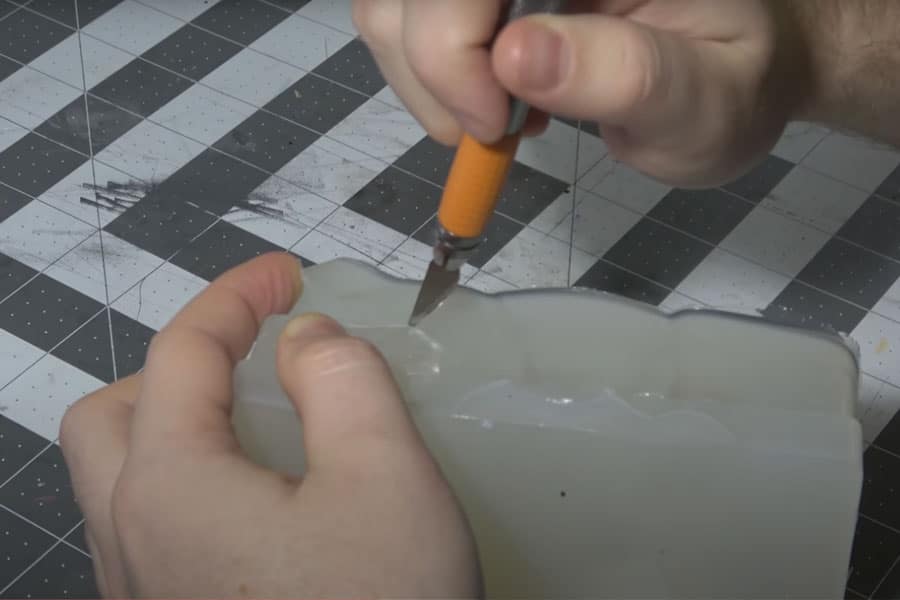
Now you can take your dice out and you have yourself a cap mold!
The Best Pre-Made Dice Molds for Resin
As we mentioned earlier, you can find a lot of pre-made dice molds online, which can be great for those of you who don’t like working with your hands that much. Here are our top 3 recommendations.
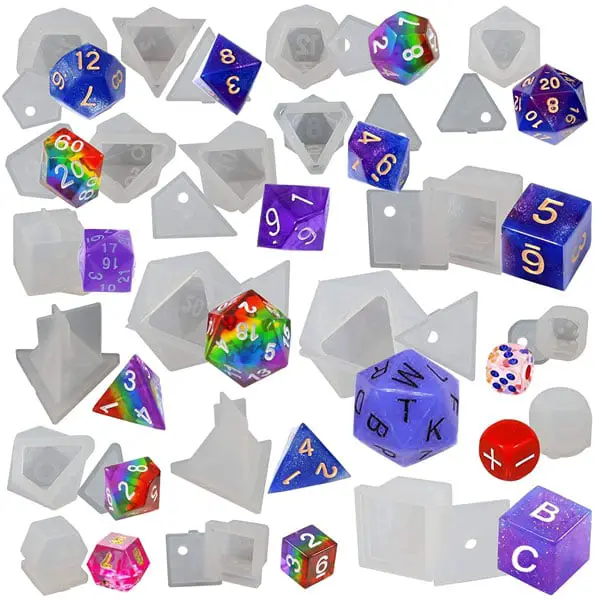
FUNSHOWCASE Resin Dice Molds – Best for Beginners

- Simple design
- Has a gloss finish
The Resin Dice Molds from FUNSHOWCASE are great for beginner DIY dicemakers because they have a simple design that doesn’t require that much effort to handle.
Their Epoxy Casting Kit includes a casting tray and dice molds with the following faces:
- D4
- D6
- D8
- D10
- D12
- D20
- D24
A few downsides we did notice with this design, though, is that its side often leaks resin. Overall, it’s a solid 3.5-star product.
Shynek 19 Styles Polyhedral Game Dice Molds Set – Best Choice
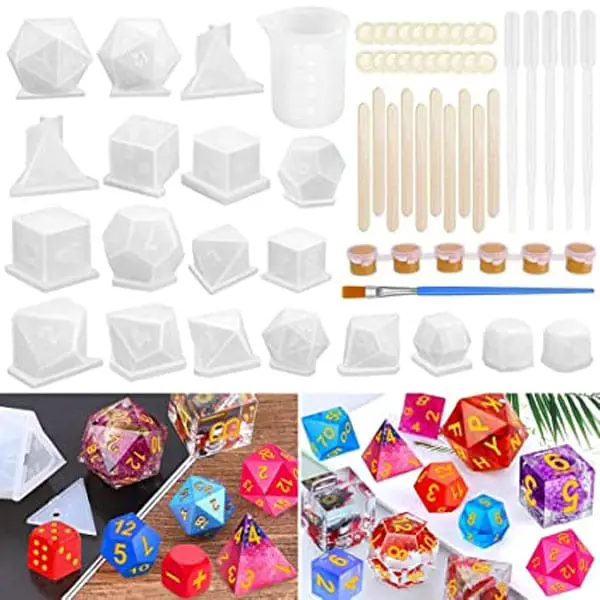
- Has generally all you need to start making resin dice
- Affordable and easy to use
If you’re looking for a dice mold set that has it all, you can’t go wrong by choosing the Shynek 19 Styles Polyhedral Game Dice Molds Set.
The package includes everything a DIY dicemaker needs to create high-quality dice:
- 19 pcs silicone dice molds
- 5 pcs plastic droppers
- 1 pcs 100 ml measuring cup
- 6 pcs gold acrylic paints set
- 1 pcs paintbrush
- 20 pcs finger cots
- 10 pcs mixing sticks
It’s a solid 4.2-star product.
Juanya 19 Styles Silicone Resin Casting Molds – Best Budget
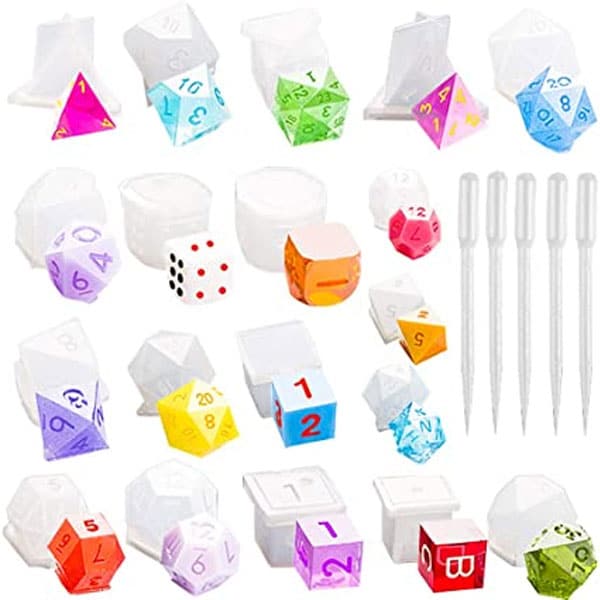
- Simple design
- Asequible
This mold is honestly not the best. But, if you’re on a budget it can get you by until you have enough saved up to buy a better pre-made mold.
The set includes:
- 19 polyhedral resin molds
- 5 plastic droppers
It’s made of high-quality silicone; flexible, so it doesn’t break when you try to pull out the dice after casting.
How to Make Polyhedral Resin Dice
Now that we’ve discussed all that goes into making resin dice, it’s time to start casting!
Using Cap Molds
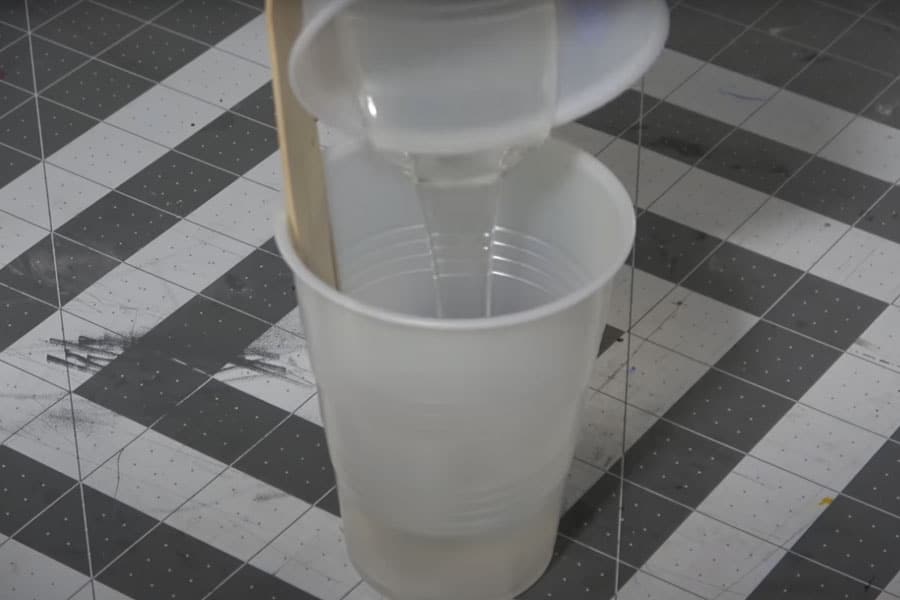
Paso 1
Put on your gloves and respirator mask for safety. Take equal parts of your A and B Art ‘n Glow Resin mixtures and combine them in a container. We recommend using a silicone cup for mixing, but if you don’t have one available, a plastic cup will do just fine.
Paso 2
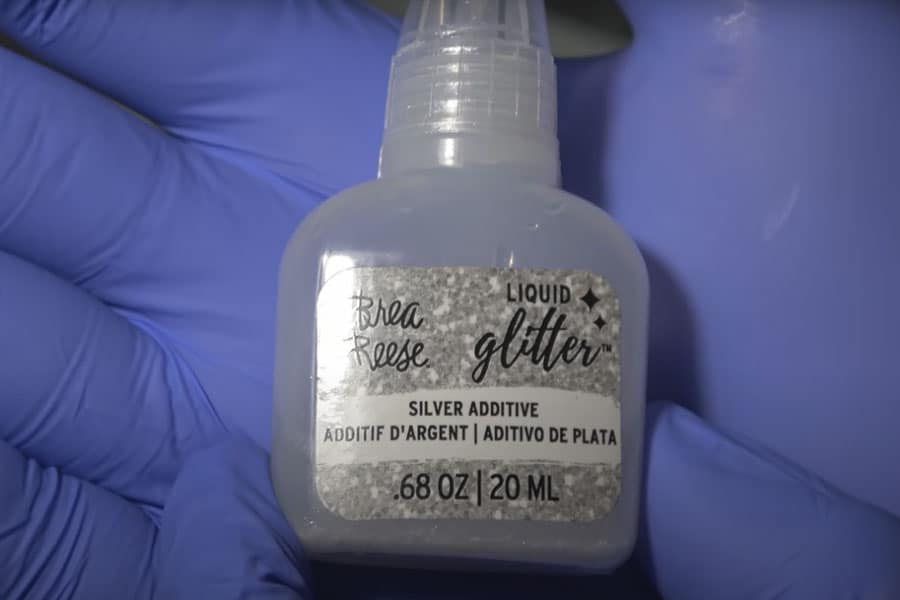
Add your coloring as well as other embellishments, e.g., glitter, foil, confetti, etc, and mix them in with your resin.
Paso 3
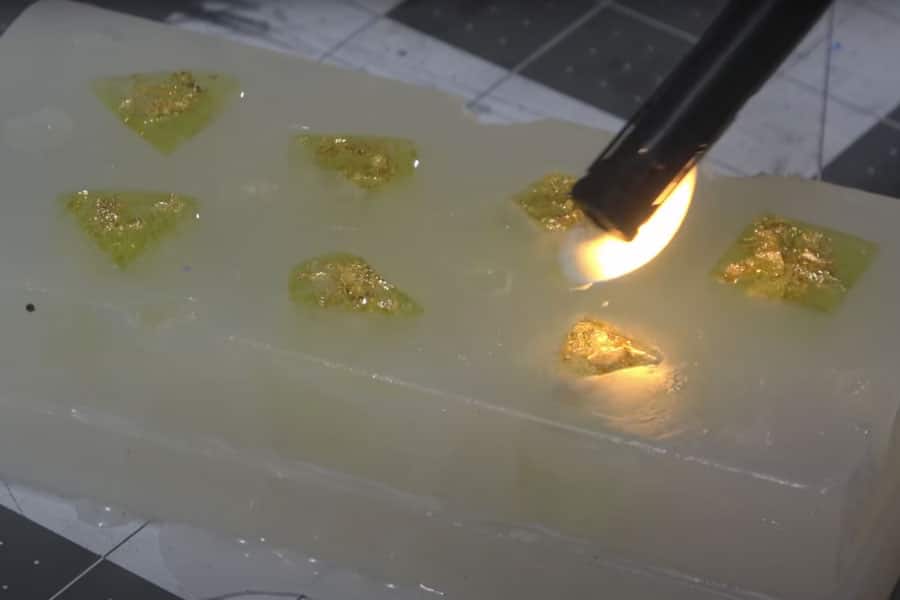
Once you’ve mixed everything in properly, simply pour your silicone into your mold. You want to add as much resin to where it looks almost like a dome.
Paso 4
If you have a pressure pot, you can use this to cure your resin. Let it sit inside for 12 hours at 40 – 50 psi. Once the resin has set, you can take out your mold and slowly de-mold your dice.
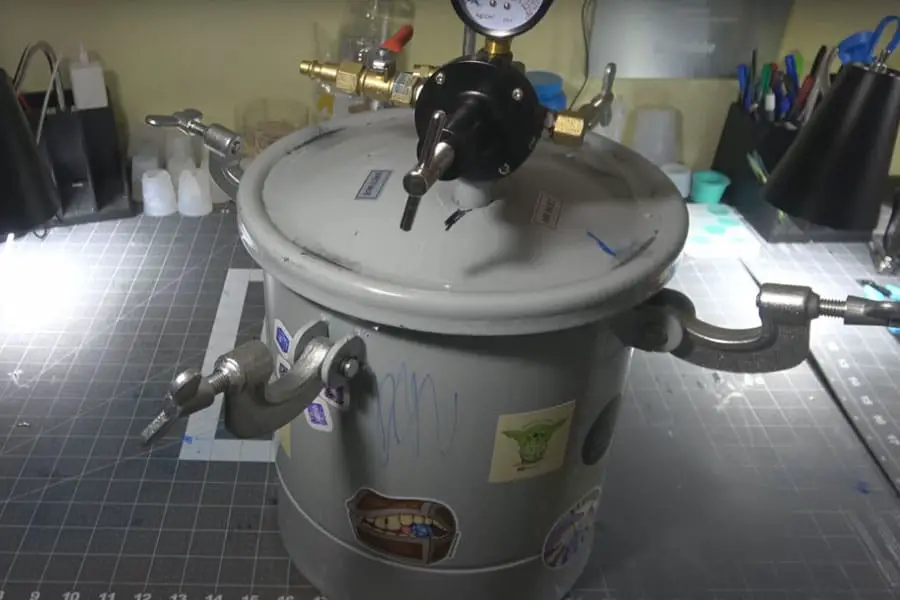
You can forgo the pressure pot if you don’t have one available at home. However, we have to warn you, leaving your resin outside to set “naturally” in your cap mold can result in more bubbles and more fragile dice. As cap molds don’t have the proper ventilation, the air just ends up gathering inside the mold, and the results can get very ugly.
Mistakes and Things to Avoid When Using Cap Molds
- Don’t push down on the cap. This will cause bubbles to form on your dice, and you don’t want that.
- Put wax or freezer paper underneath your mold to catch excess resin that may spill over the sides.
Using Sprue Molds
Paso 1
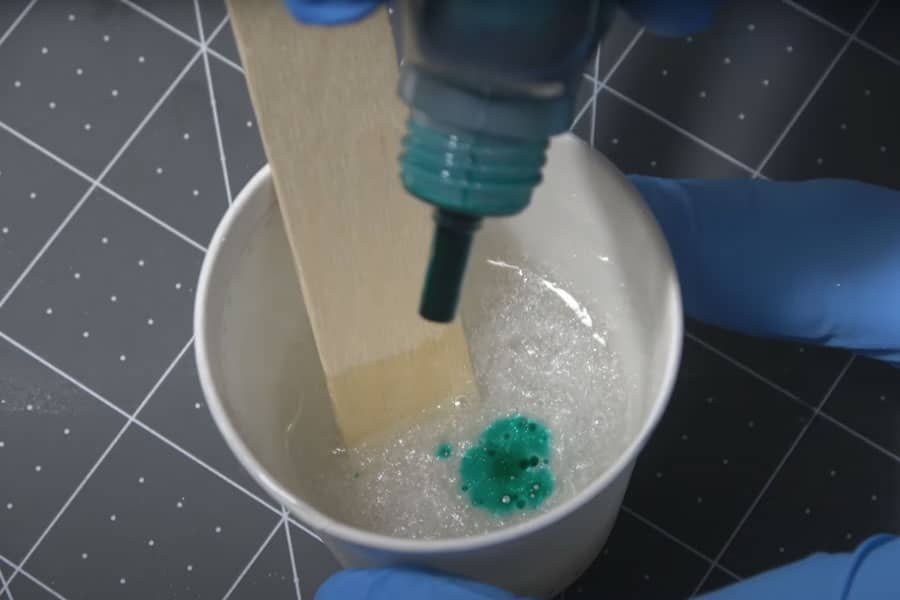
Prepare your resin, as we did in the previous chapter.
Paso 2
Get some blue painter’s tape (or rubber bands, if that’s what you prefer) and secure your sprue mold close.
Paso 3
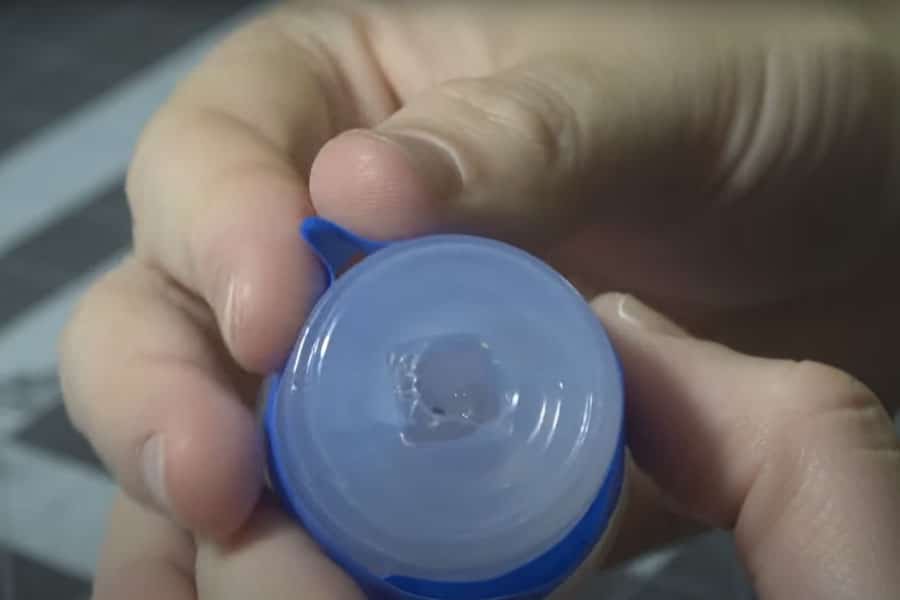
Use a dropper to pour your resin into your mold. You can do this without the dropper, but with the dropper, you can ensure that your resin won’t leak out of any edges. Now, it’s wise to overfill your mold a little bit. Once you put it in the pressure pot to set, the bubbles that are eliminated may leave an ugly gap in your dice if there isn’t any excess resin left to reinforce your structure.
Paso 4
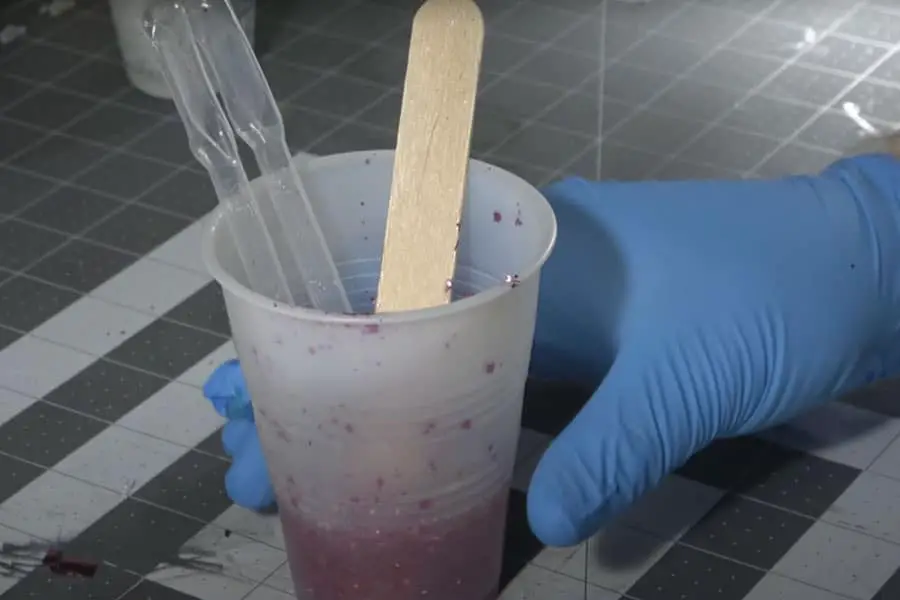
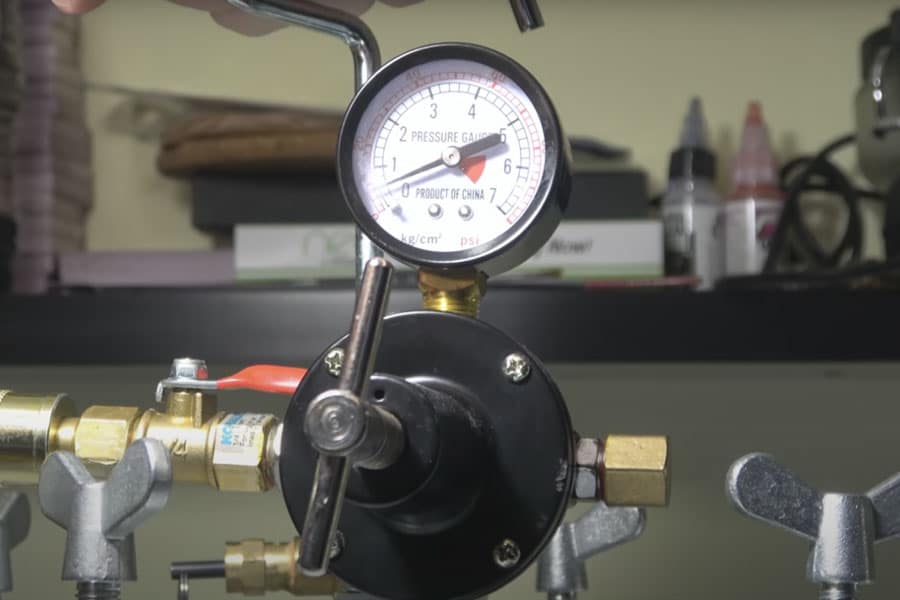
Load your molds into your pressure pot and leave it to cure for about 12 hours at 40 – 50 PSI. Once that’s done, you can take out your molds and slowly de-mold your dice.
Again, if you don’t have a pressure pot, that’s OK. Just set your sprue molds aside and wait for the resin to cure completely.
Paso 5
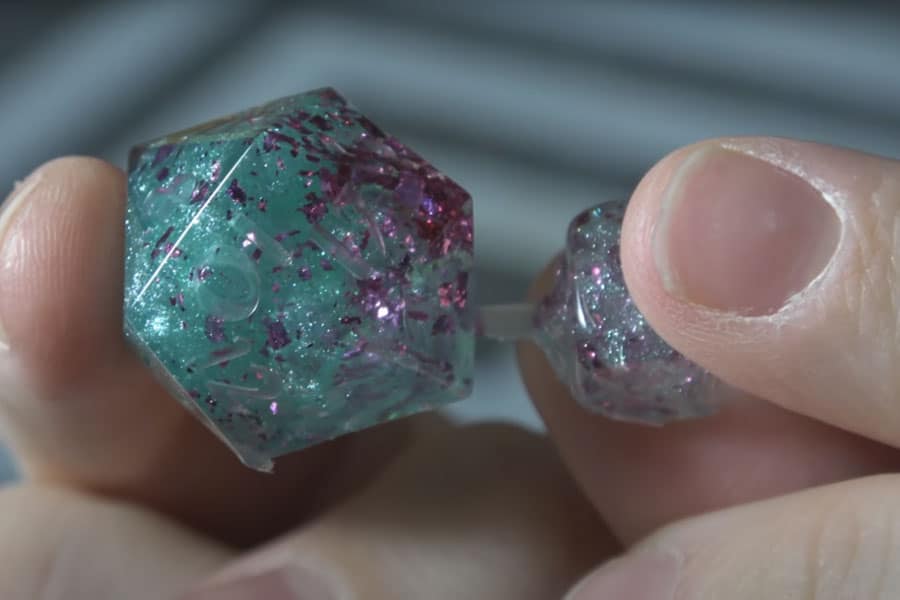
Once you have all your dice out of your molds, you can cut off your sprues with clean cut pliers. Use your Exacto knife to make any excess look as flat as possible. After you’ve removed all excess resin, you can begin sanding your dice.
Mistakes and Things to Avoid When Using Sprue Molds
- Again, avoid using rubber bands on your sprue molds, as these can result in deformed dice.
- Don’t forget to overfill your dice just a little to prevent gaps from forming during the casting period.
- Don’t remove your dice too early from their mold! A good rule of thumb is to leave them inside their molds for at least twice or thrice the length of their original curing time. In other words, if its curing time is 12 hours, you should leave your dice in for at least 24 or 36 hours.
Sanding, Polishing and Inking Your Dice
Once you’re done with making your dice, you’re going to want to sand and polish them, especially if you want that glossy, shiny finish.
Dice made by cap molds rarely require any sanding. But if you’re using a sprue mold, here’s what you want to do.
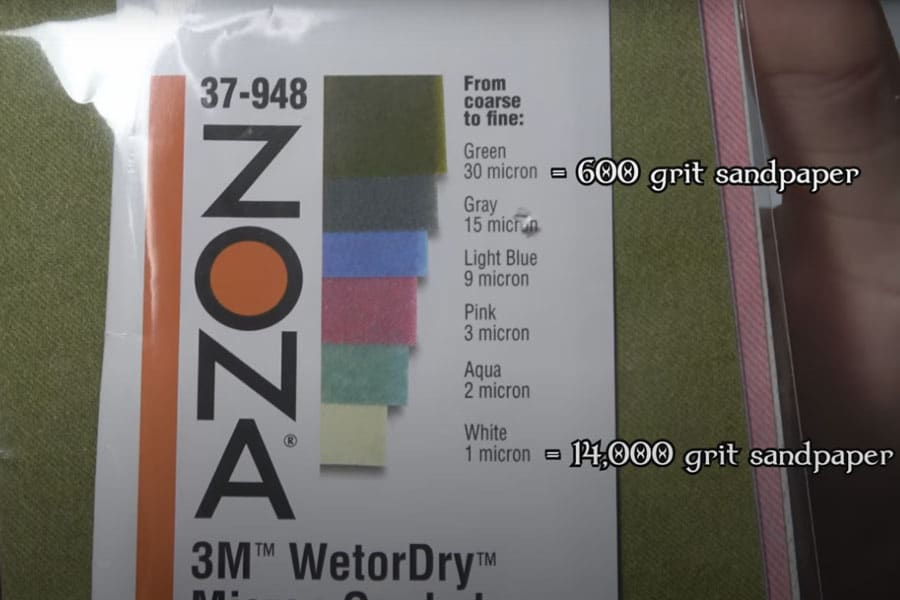
To begin, cut off 6 small squares of the 6 sandpapers. Start sanding the side of your dice with the sprue on the 30-micron sandpaper. Make sure to douse your sandpaper with a little water first, because you don’t want to inhale resin dust during the process. Do this for all your sprue mold dice.
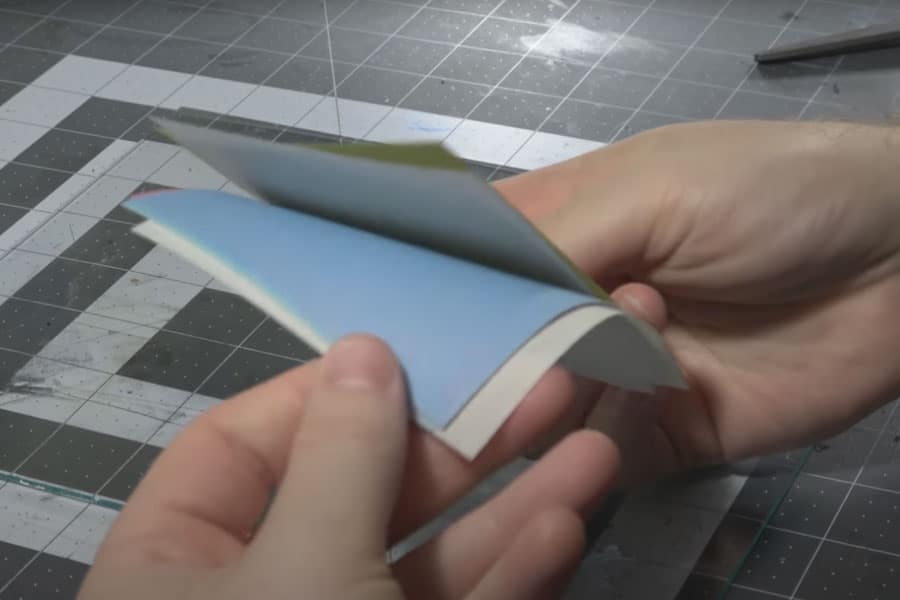
Once you finish sanding all your dice with the 30-micron, work your way down the scale, proceeding to the 15-micron, 9-micron, and so on.
When sanding, make sure to follow a clockwise and counter-clockwise motion, for a cleaner, more leveled face.
After you’ve gone through all 6-micron grits, you’ll be left with this premium glass-like polish the same with all the other sides of your dice.
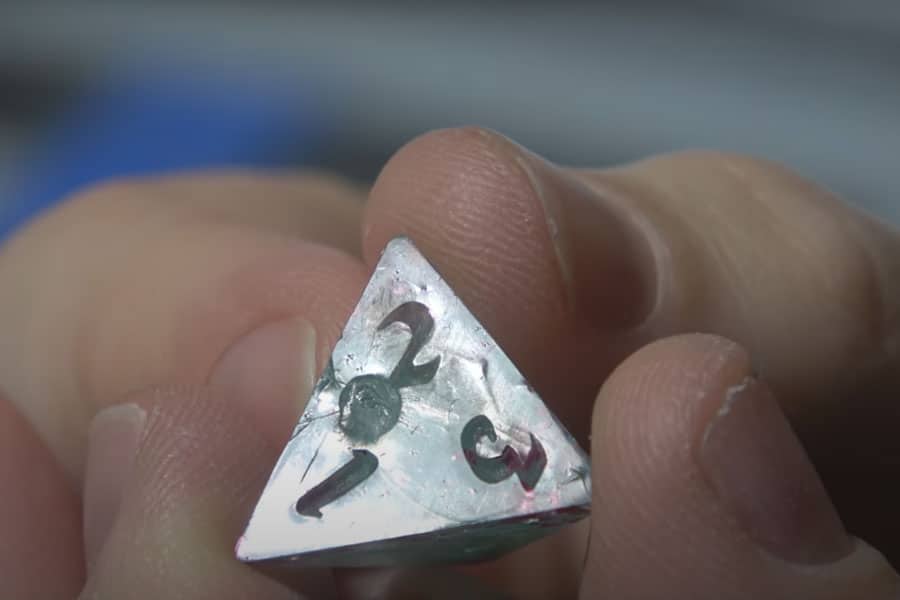
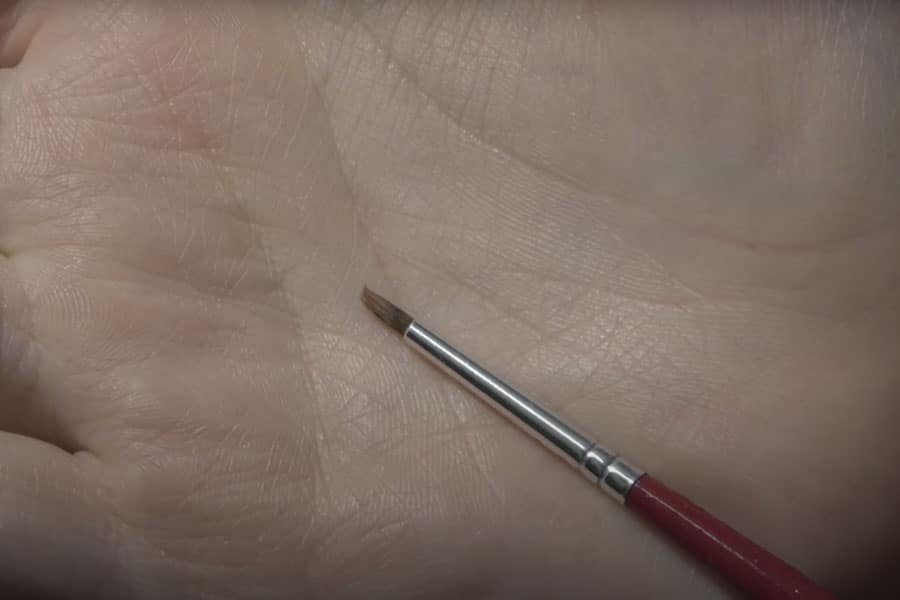
Take a small paintbrush and a color of your choice. We recommend you use Citadel. You don’t have to use them, but because they have a high pigment concentration, it looks great on resin and can add more character to your dice.
If you notice any excess paint around any numbers, no need to worry. Just take some alcohol, put it on a clean cloth, and use that to wipe away any excess paint.
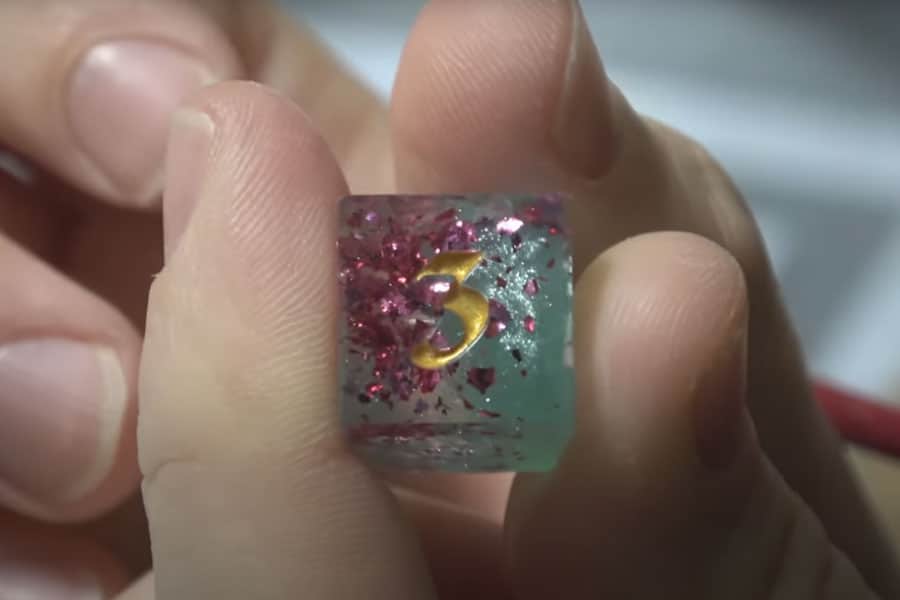
Now you have a fancy set of dice for your next game night!
Experimenting with Your Embellishment Options
There are LOADS of things you can do with your designs that can make your dice look unique and one-of-a-kind. You can add glitter, combine different colors of paint, or even add small objects like a small sword figurine into your dice (although we don’t recommend the figurine if you’re a beginner).
Two-Color Dice
Paso 1
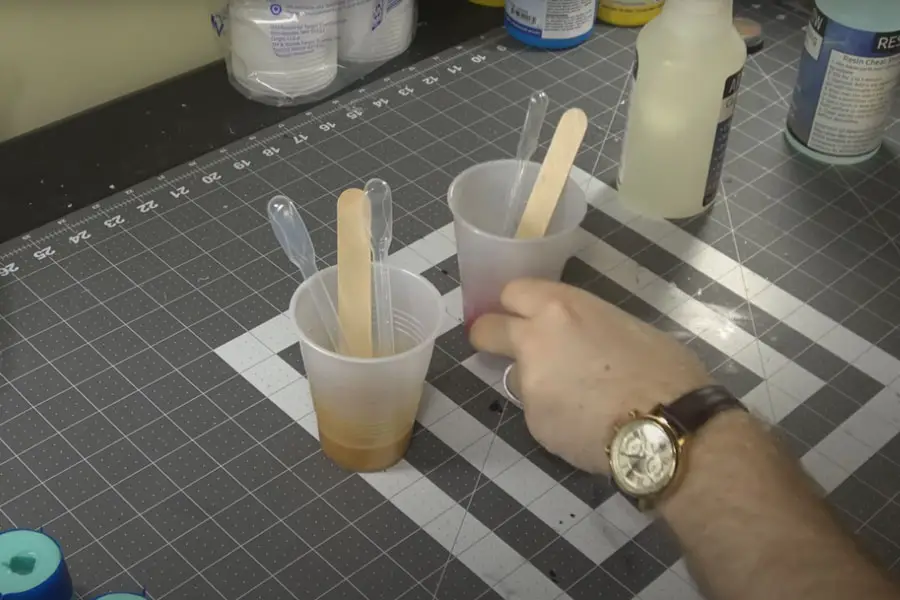
To make two-color dice, simply separate your resin mixture into two containers. Mix in your desired colors into each container.
Paso 2
Once you’ve made 2 batches of your desired colors, you can take your droppers and start pouring your resin into your mold.
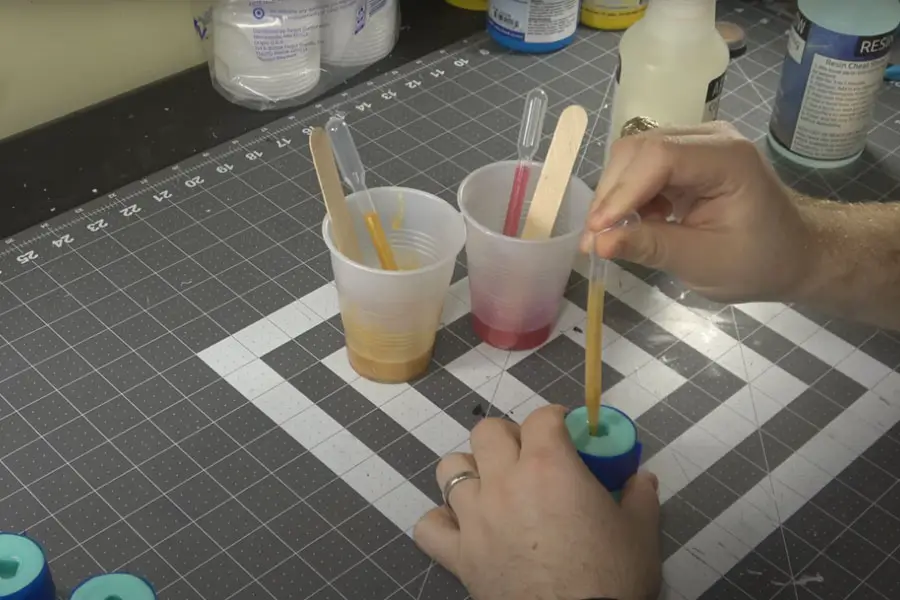
The rest of the steps are identical to the ones you do in making your normal, single-tone dice. You can use this method for both sprue molds and cap molds.
Glow in the Dark Dice
The secret to making these aesthetic glow-in-the-dark dice is this glow-in-the-dark pigment powder from HXDZFX.
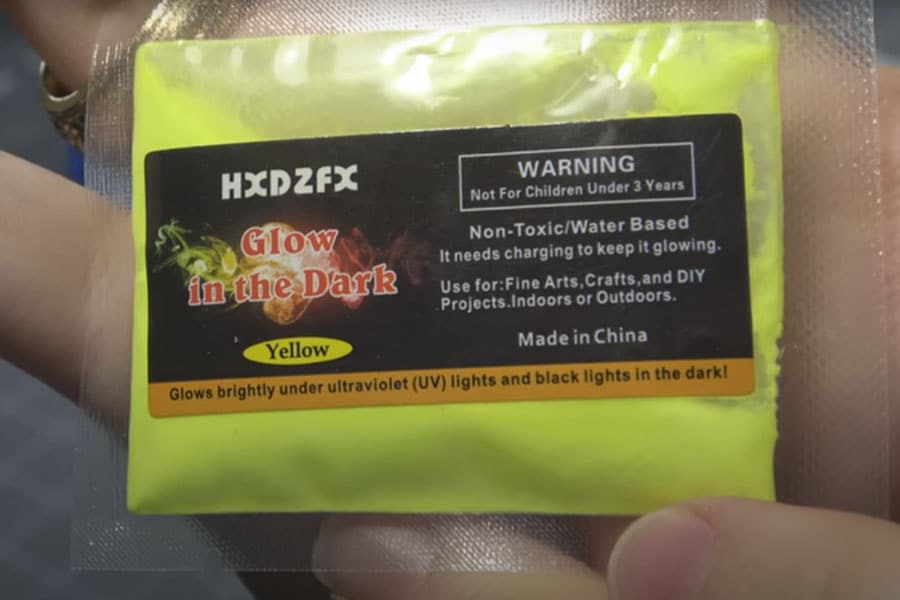
They come in:
- Blue-green
- Sky blue
- Amarillo
- Yellow-green
- Pink
- Green shades
They’re non-toxic, non-radioactive, and can be charged using a UV lamp.
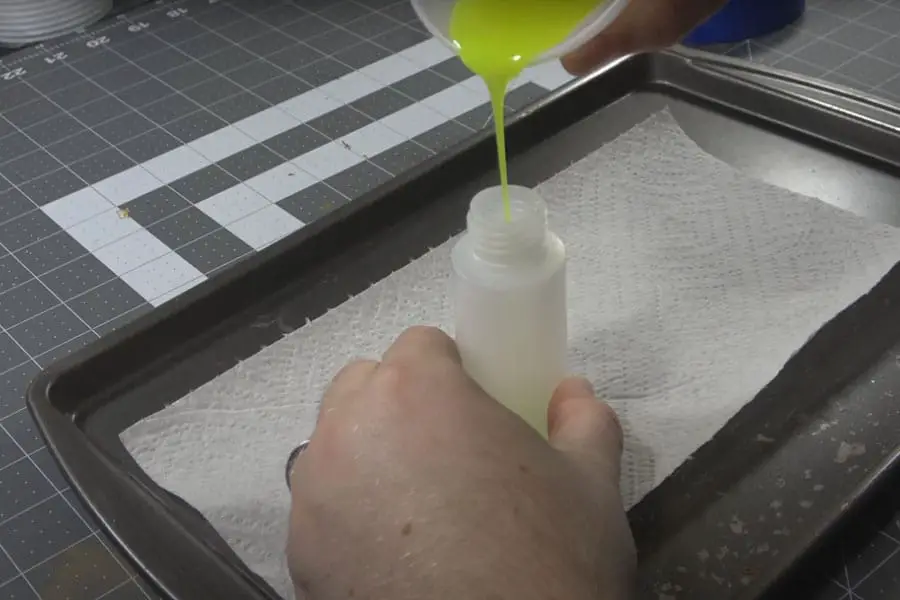
Simply mix half of the bag into your resin mixture. Stir with your popsicle stick for about 5 minutes then take your dropper and fill it up with resin.
You can also use an icing bottle, like in the picture below, if you don’t have any droppers available at home.
Once your icing bottle or dropper is filled, you can proceed to pour your resin into your mold.
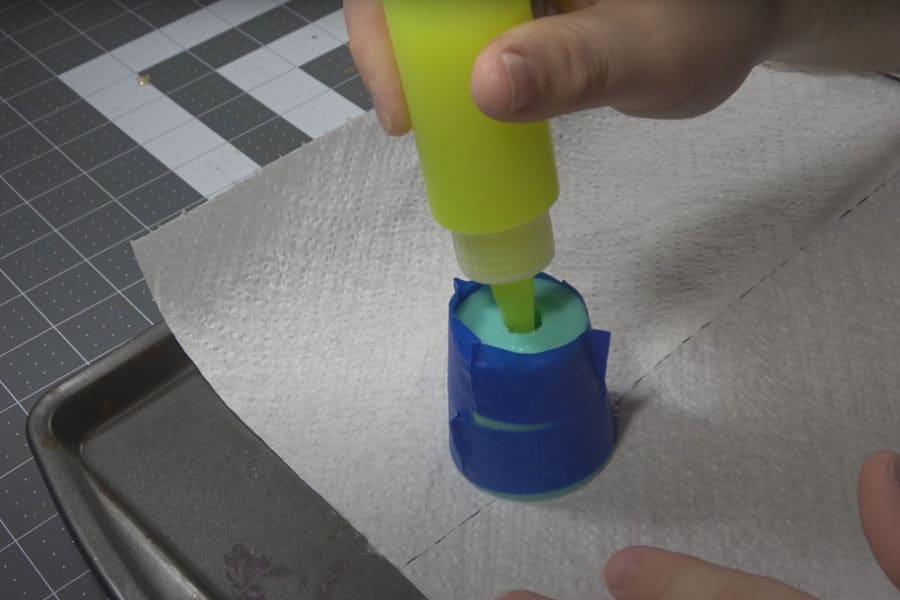
Wait 24 hours for your resin to cure then you can begin de-molding your dice. The rest of the process is identical to the previous steps we discussed.
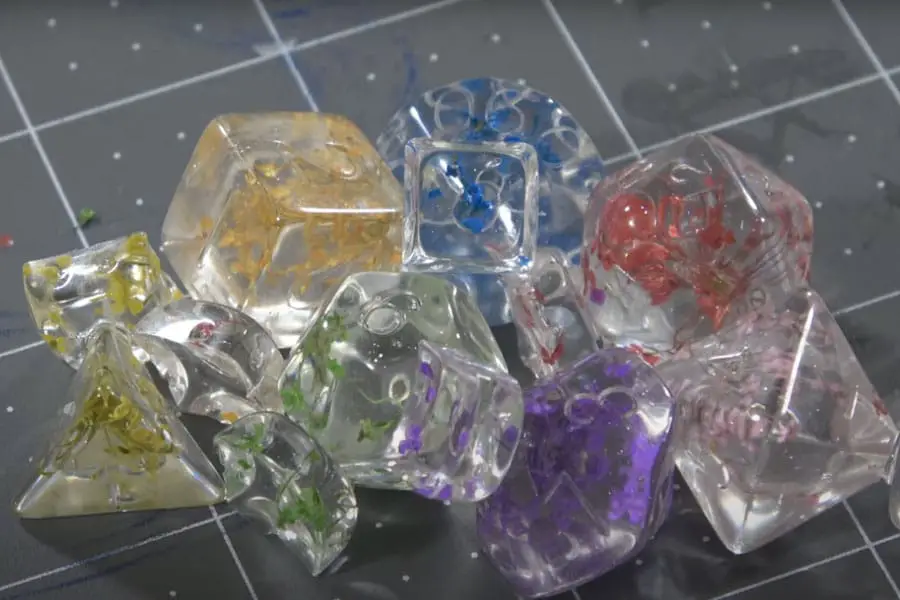
Flower-Themed Dice
This theme in particular works better with cap molds, but you can still use your sprue molds if it’s all that you have.
Paso 1
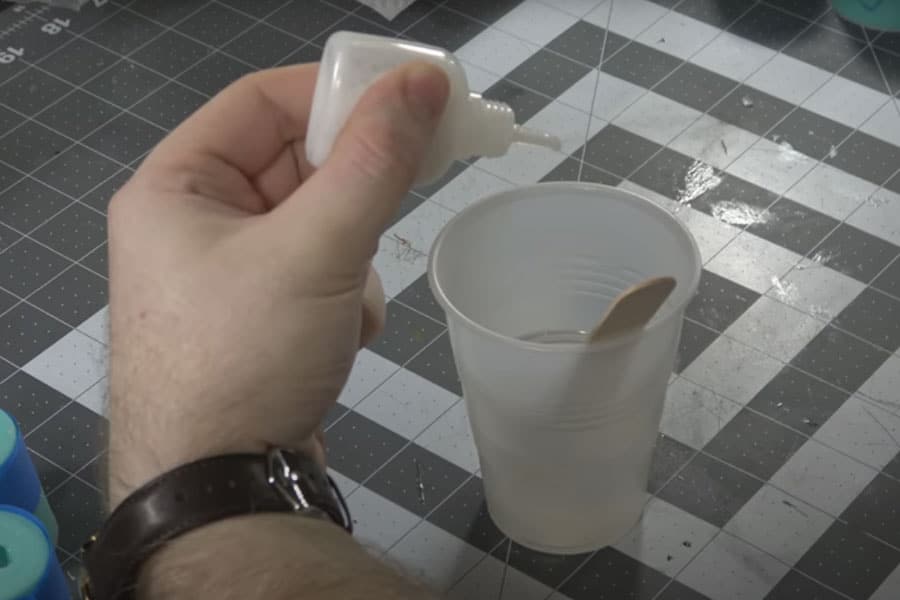
To start, mix your resin with your desired color. For this example, we’ll be using liquid silver glitter, to add a bit of a shine to your dice. You can add any other color you want, as long as it isn’t something too opaque that it covers up the flowers.
Paso 2
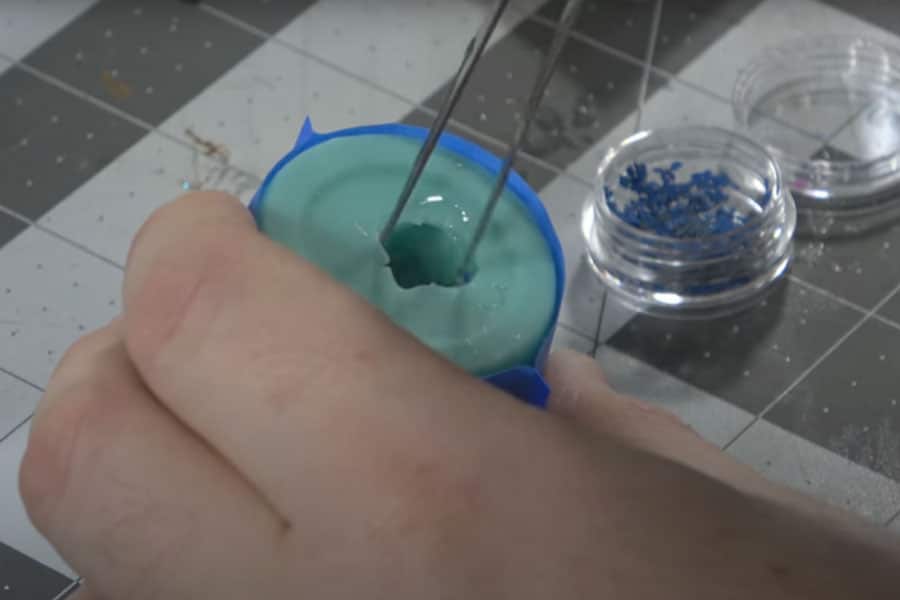
Take your dropper and pour some resin to the bottom of your mold. Just a little bit — you don’t want to fill your mold all the way.
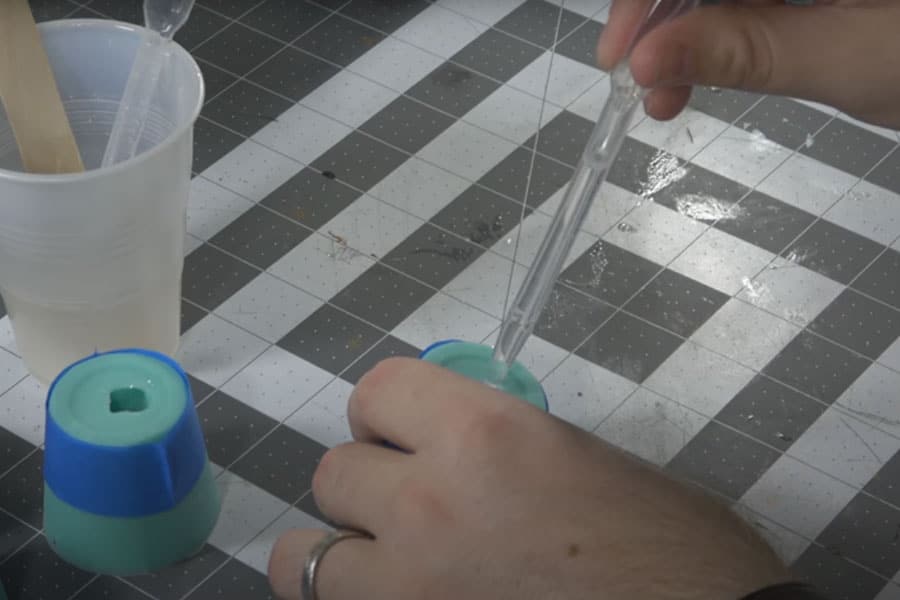
Once you have enough resin, you can start dropping in your flowers. You can do this by hand, but if you’re using a sprue mold, you can do it with a pair of tweezers and slowly slip your flowers into the sprue hole.
Paso 3
After inserting enough flowers, you can add more resin all the way up to the brim of your mold.
The next steps are the same as we previously discussed, so just refer to that section once you’re done with everything here.
And now you have flower-themed dice!
Conclusión
Finally, we’ve reached the end of the article! Hopefully, if you’ve gotten this far you’ve realized just how fun and creative making your own resin dice is.
If you’re looking to have more control over the way your dice looks and feels, then DIY resin dice making is definitely a project worth trying out. Otherwise, you can go traditional and just buy a set online.
If you find this article helpful, please do share it with your friends. And if you think that we left out anything important, please tell us about it in the comments section below.
Thank you for reading and we hope we’ve given you valuable tips and tricks for making your own resin dice!