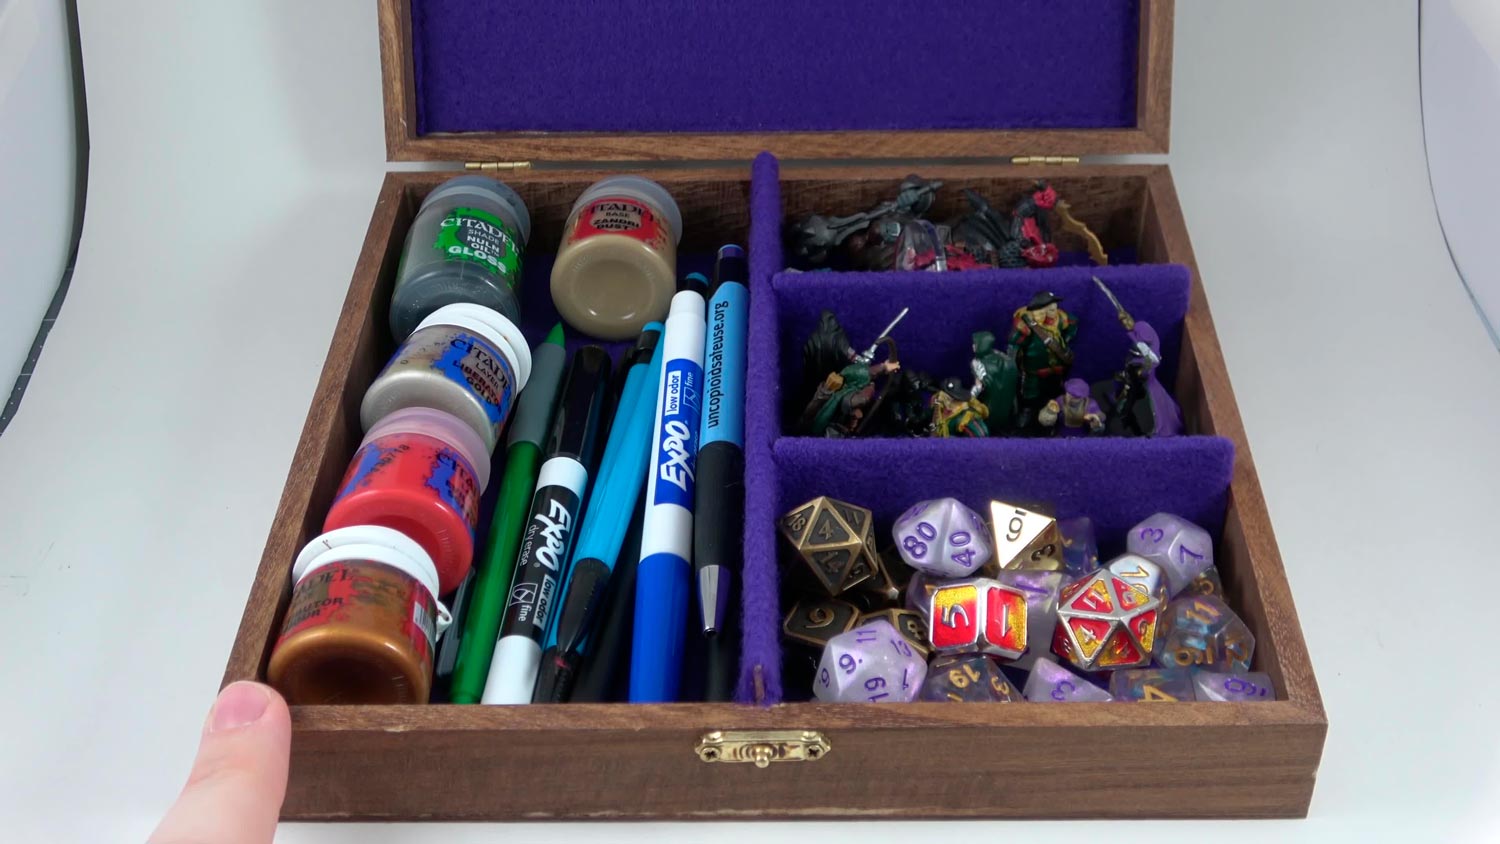
Wir werden erforschen, wie man eine Würfelbox herstellt. Würfelboxen sind ideal für Spiele wie Yahtzee, Farkle, or any other game where you can roll a die and then shake the dice in the box before rolling again. A dice box is just what it sounds like – a container with one opening at the top that holds your die during play. To answer all of your questions about making a Würfelboxhaben wir diesen Artikel erstellt!
Inhaltsübersicht
Was Sie brauchen
Ein kleines Stück Holz, etwa einen Zentimeter dick, ein Blatt Papier, auf das du deinen Entwurf zeichnest (ein Ausdruck von der Website eignet sich hervorragend!), etwas Klebstoff.
Optional, aber hilfreich: Schmirgelpapier und ein Bleistift oder Marker zum Durchpausen auf dem Brett. Wenn du weißt, wie man mit Elektrowerkzeugen umgeht, ist das noch besser! Du kannst auch einige der Schritte überspringen, wenn du etwas anderes zur Hand hast, das funktioniert.
How to make a dice box
Step One: Draw Your Design
Start by drawing your design on the center of the paper. Make sure you draw it big enough to fit onto your board! A pencil works well for this, but if you have a marker that will work better make sure to use that. If using power tools is not something you are familiar with, at least try tracing first before moving on to Step Two so your pieces come together correctly and don’t turn out wonky! Now let’s get started making those dice boxes!
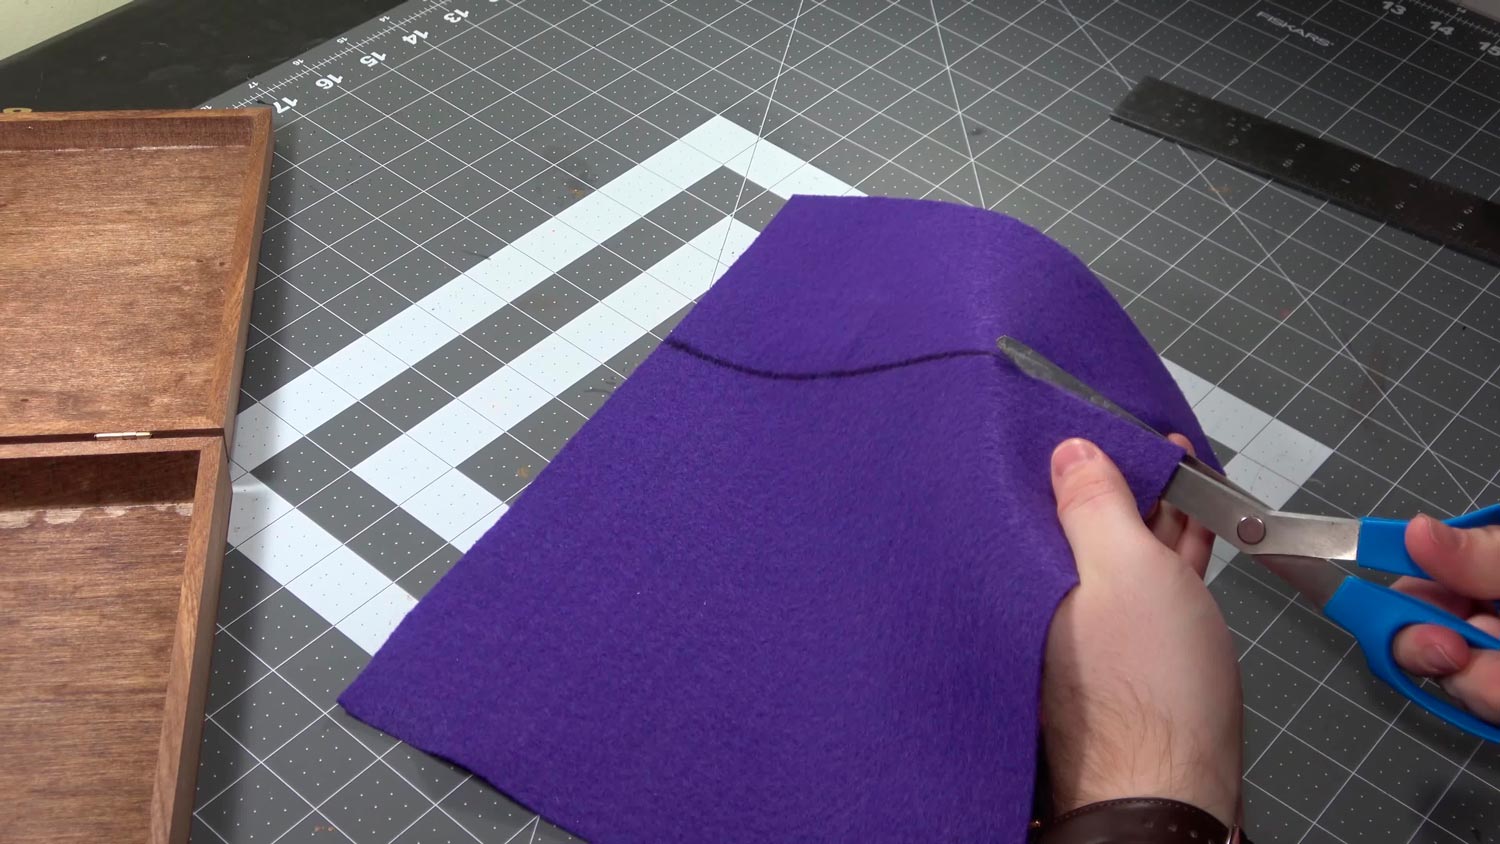
Step Two: Cut Out the Design
Now, cut out your design. You can use scissors or a hobby knife for this part. If you are using power tools now is the time to turn them on! Some people like to use glue here instead of cutting all-around their design but it’s up to you!
Step Three: Trace Your Board and Drill Holes
After tracing your box onto your board (or if not using paper), place it where you want it and drill holes down each side about two inches away from the centerline. Make sure that there is at least an inch between these holes because we will be putting dowels through them later which should fit pretty snugly into those holes, so make sure they’re deep enough!
Step Four: Cut Out the Inside of Your Dice Box
As you may recall, we used a hobby knife to cut out our design in step two. Now is when that comes back into play! Start cutting along your traced lines and try not to ruin those holes you drilled earlier by cutting too close or letting something slip! You can also use sandpaper here if it helps but this part should be pretty easy.
Step Five: Sand Everything Down
After all your pieces are cut out now they just need some fine-tuned finishing touches. Use sandpaper on everything except the bottom of the box (which will have no opening later) then wipe them down with a wet paper towel until they’re nice and smooth. Don’t worry about the edges here, we’ll take care of that in Step Six.

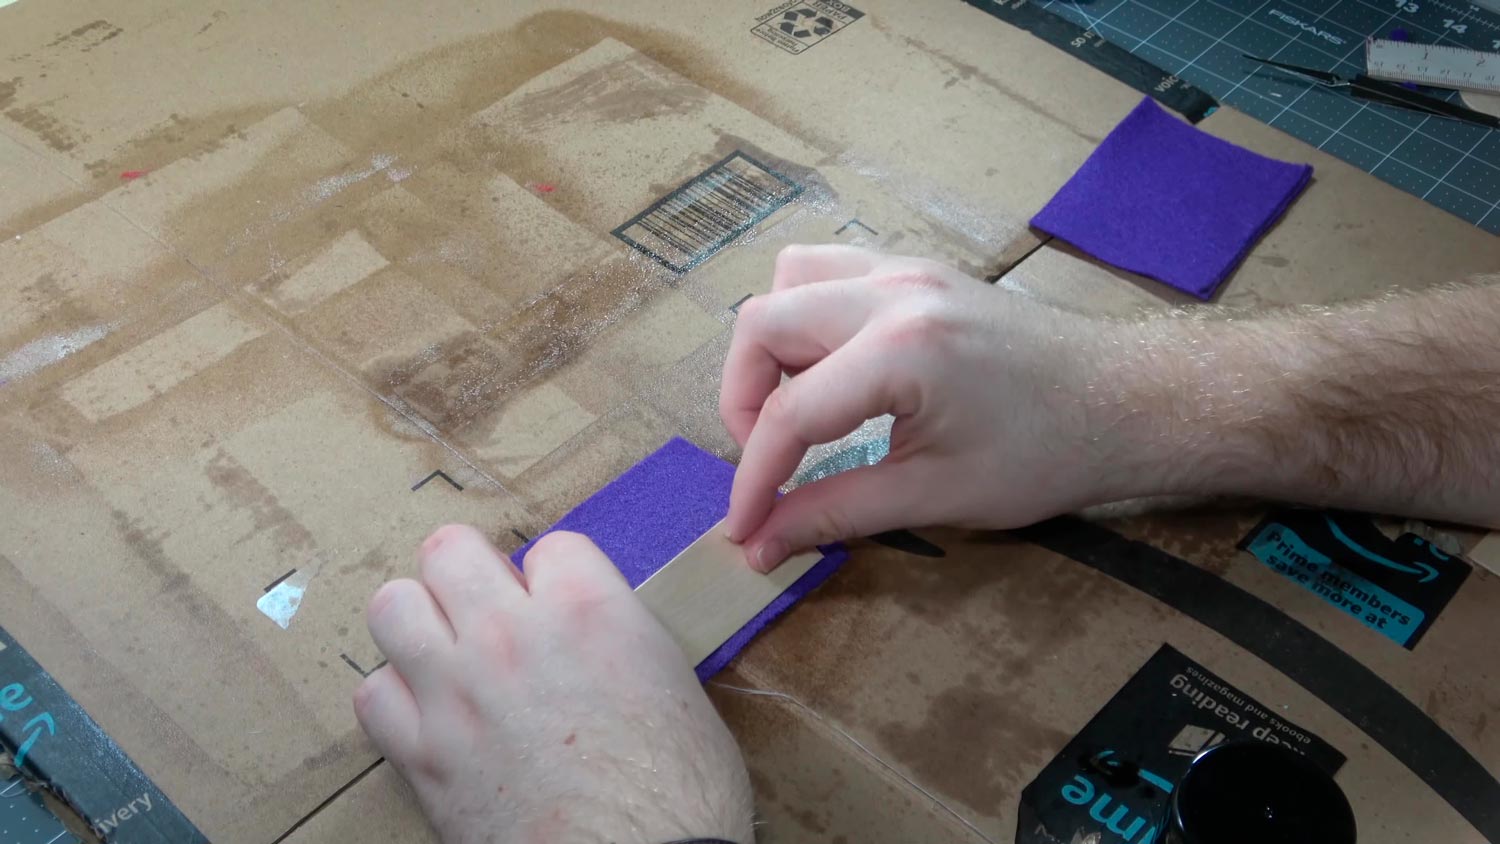
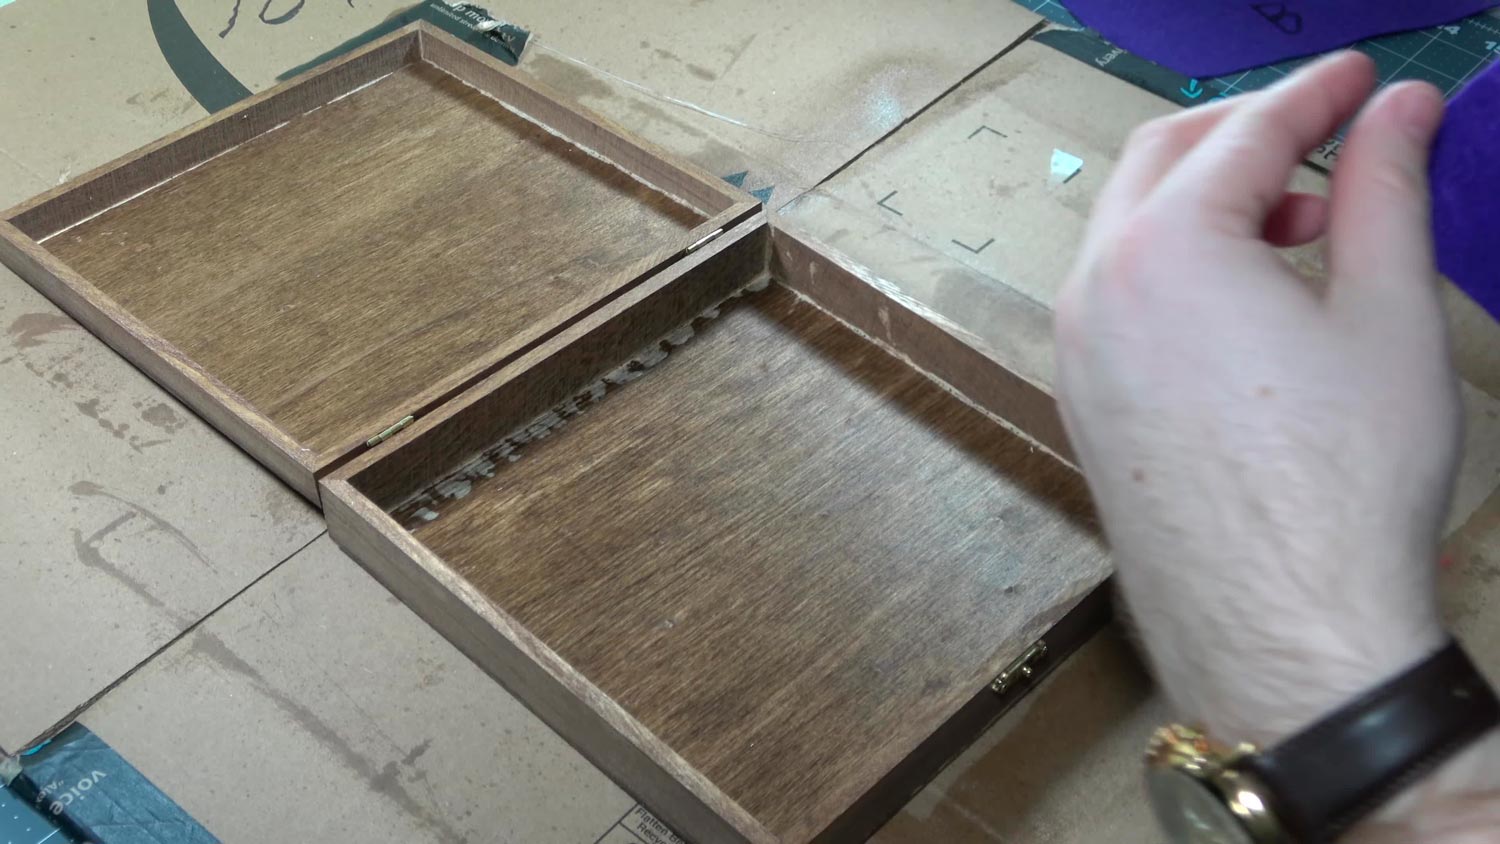
Step Six: Put All Your Pieces Together!
Now it’s time to put everything together and make your dice box complete! If you’re only using glue then spread some on all four corners (the two round ones and the bottom pointy one). You can also use nails or any other fasteners if you know how to do that better than gluing. Just be careful when putting this part together because taking something apart with power tools is not recommended. If someone is helping, have them hold down the pieces while you put them in place so nothing goes flying off into oblivion! Once your design comes back up out of its slot, put some glue on the top edges of that design, then stick it back down. Then you can also use glue to attach your bottom pointy piece in place! And there you have it- one completed dice box ready for playtime!
Step Seven: Packaging
Congratulations! You now know how to make a dice-box thanks to this article. As an extra step here, if you want something nice instead of just crumpled up paper or random pieces of cardboard lying around with no regard after each game session (not that I’m speaking from experience…) go ahead and package them up nicely for their friends before they head home so everyone has somewhere special to store their dice! It’s not necessary but it will surely make you the most popular DM/GM on your block.
Tips for using your dice box
Use dice that are two or three inches high; it’s better for the box because you won’t have to crush them as much.
Don’t use different colors of your dice, keep each color in its own separate slots (this is only if you want to be picky about such details).
Don’t use normal playing cards to make the bottom. If you do this, it will most likely warp your box and can cause problems with removing dice later on down the line (not trying to scare anyone but I’ve had my fair share of these kinds of issues).
If you’re using a paper design then don’t be afraid to go outside either! You could even glue or staple pieces together so they stay in place better when stacked. There are many possibilities here so just have fun!
The importance of owning a dice box
So you may be wondering, “why do I need a dice-box? Can’t I just throw my dice into an old sock or something?” Well, the answer to that is simple: NO! Do not treat your friends and fellow gamers’ dice like this under any circumstances. Not only will it make them mad but they’ll most likely never let you play with them again if you don’t learn some table etiquette (it’s happened before so trust me on this one…)
A good habit for using dice boxes is taking out as many as needed at once rather than throwing all of them onto the tabletop. If someone else needs more then feel free to pass those extras over no harm done there! Just try not to lose track of your dice because that’s not good for anyone!
Another important reason to get a dice box is storage. You’ll never have to worry about misplacing them ever again and you can always keep an extra one in your backpack if you plan on going someplace else with friends or family so everyone will be able to play there too.
The main point here is this: Dice boxes are a great way of improving the experience at any tabletop game session- from Dungeons & Dragons all the way down to Monopoly, etc… If someone has their own dice then they’re more likely to stay longer and enjoy themselves even more than before without having anything holding them back (that was obviously directed towards me…) So next time someone asks how many players can play, don’t forget to answer with a roll of your dice!
Common mistakes when making a dice box
The first and most common mistake is making it too small. Don’t do this! Make sure your dice fit inside comfortably without having to squish them down or anything of the sort (it’s not as appealing as you may think).
Another frequent error is using construction paper for a design which leads to warping on the sides after time has passed because of how thin it tends to be compared to other types available.
People often forget about lining up their patterns correctly before gluing everything in place so they end up either stacking unevenly or shifting around during transit. This is why I recommend using a pencil to trace the design on first before placing anything down- this makes it much easier for people who are beginners with these types of projects since everything will be straight and even (as long as they don’t rush through it).
Finally, another common issue comes from not building up your dice box correctly which can lead to them falling over if not balanced well enough. If you do build unevenly then make sure that you know how to correct this problem or else your friends might end up mad at you!
Suggestions for how to customize your dice box
The only limit here is your imagination! There are so many ways to make a dice-box unique from others and it all depends on who’s making them. Some people have been known to add things like rubber bands, beads, or even bells which can be helpful for some games that require rolling multiple times in quick succession (I’m looking at you Dungeons & Dragons…)
A few ideas of my own include using different colored paper for designs as well as gluing together different types of materials for the outside. For example, I glued together pieces of plastic and paper to create a shiny effect which can be really eye-catching depending on what kind of game is being played (like Dungeons & Dragons again but more so if there’s some sort of magic involved).
Schlussfolgerung
Congratulations! You have learned how to make a dice box. Now you can go and try it out with your friends or family members for fun. Remember, the more information you have about this craft project will help you succeed so do not hesitate to research online for additional tips on how to make a dice box. Thank you for reading this article today, happy crafting!