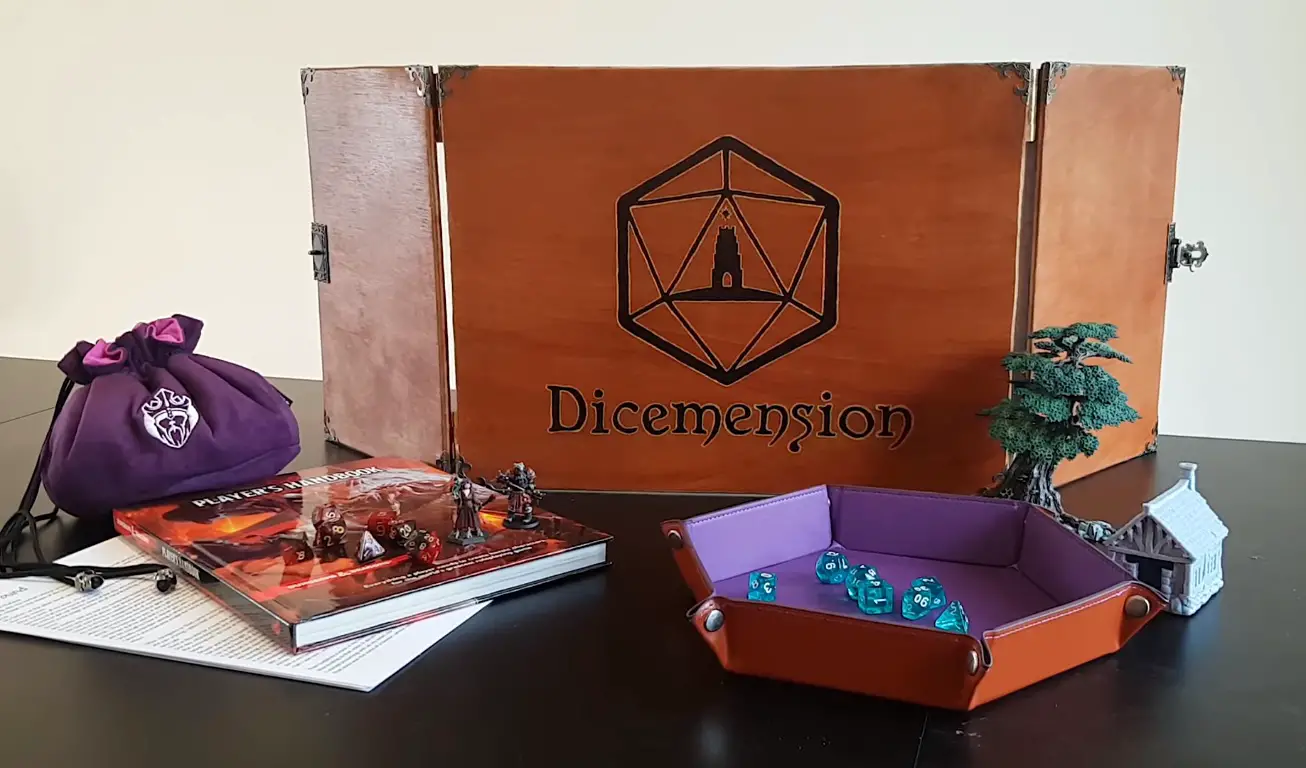
Do you want to make a DM Screen for your favorite game? Maybe you are looking for a new way of making one. In this article, we will discuss how to create a DM screen from scratch and some other ways that might be beneficial for those who don’t have the time or skills to build their own.
We’ll start off by going over what materials you’ll need and then giving step-by-step instructions on how to put it together!
What You’ll Need
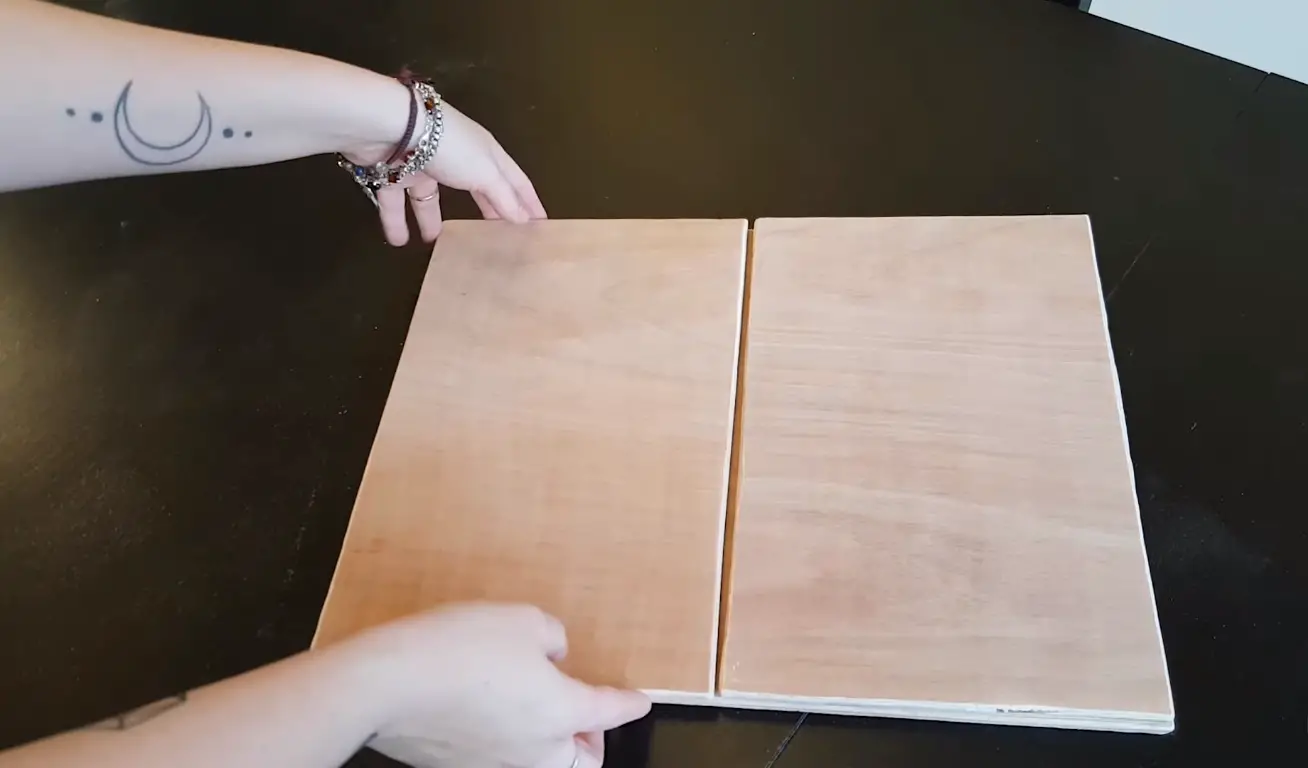
First, you’ll need a large piece of wood. You can use plywood or any other type as long as it is something that won’t bend easily and has some thickness to it. Try to find one that isn’t warped too much if possible, but don’t worry about those with slight bends because they will be handed out in the next step.
Next, we’ll need some thin plywood to make a base for our DM screen and attach it to the large piece of wood.
After that, we need to add some foam padding for when the DM screen is closed because it will be resting on top of our players’ faces while they roll their dice or look at notes (hopefully not with beer). The best thing about this type of foam is that you can buy it in a variety of shapes and sizes, which will come in handy if you are making the screen fit on top of your lap or another weird-shaped surface.
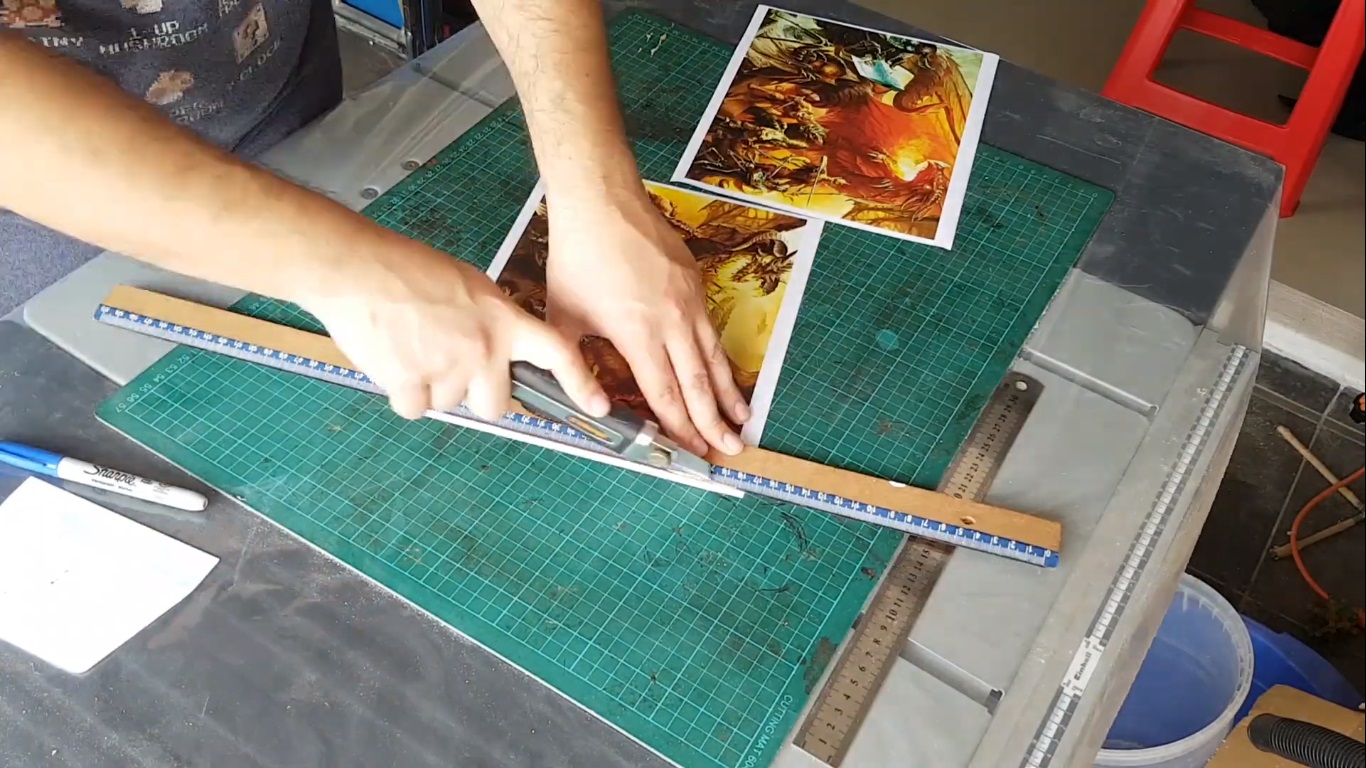
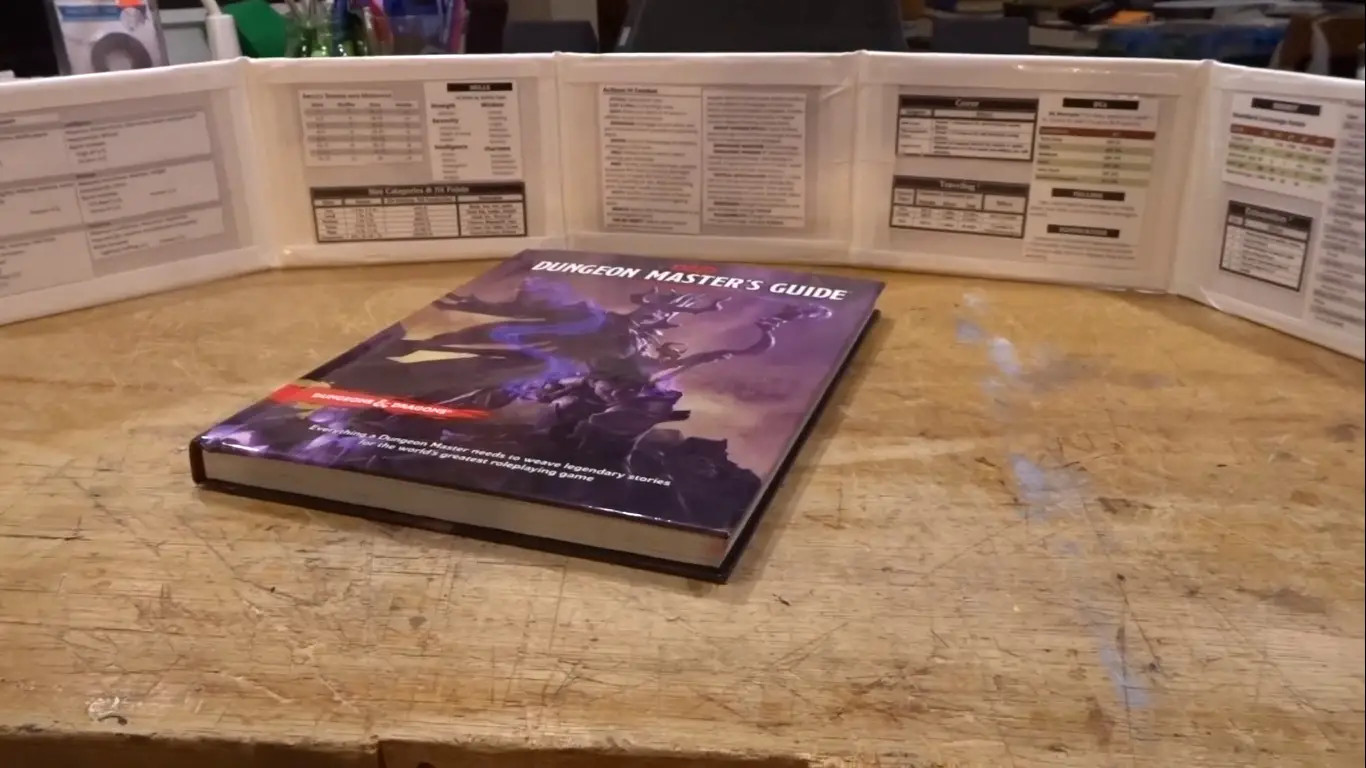
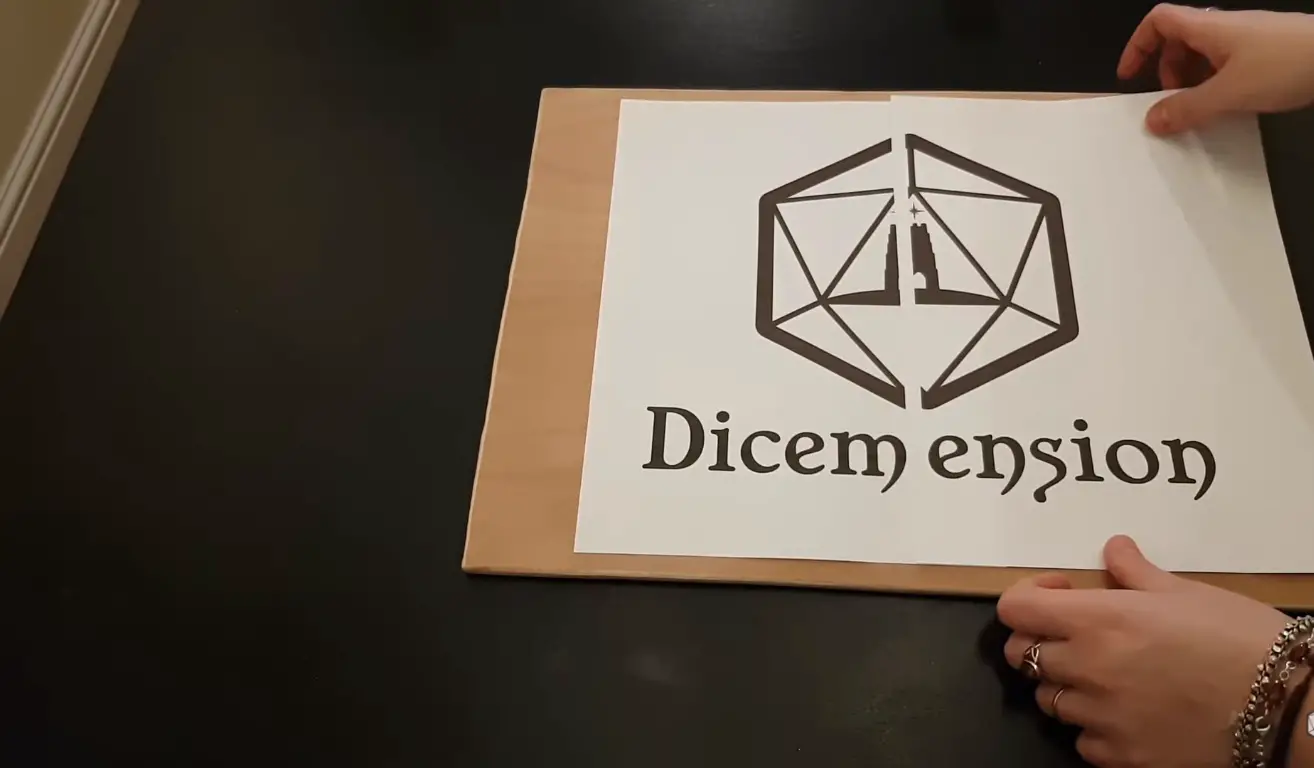
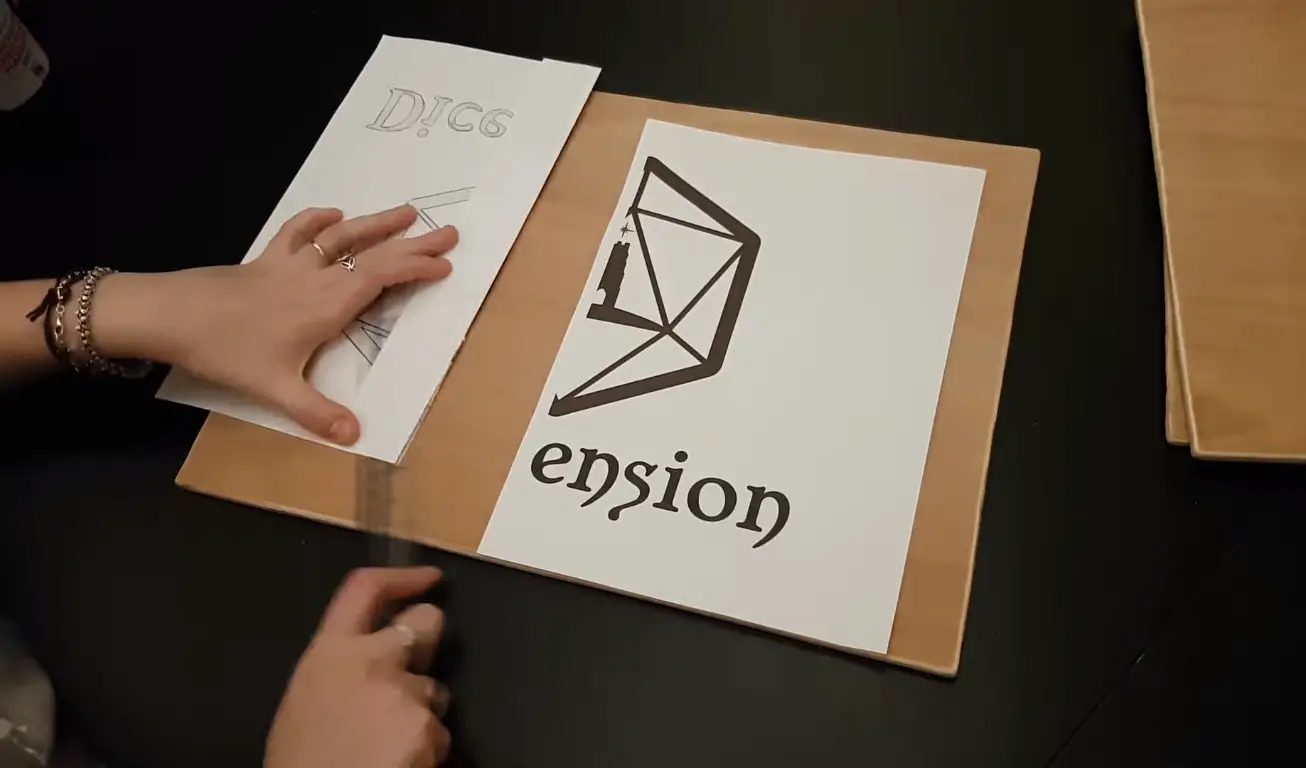
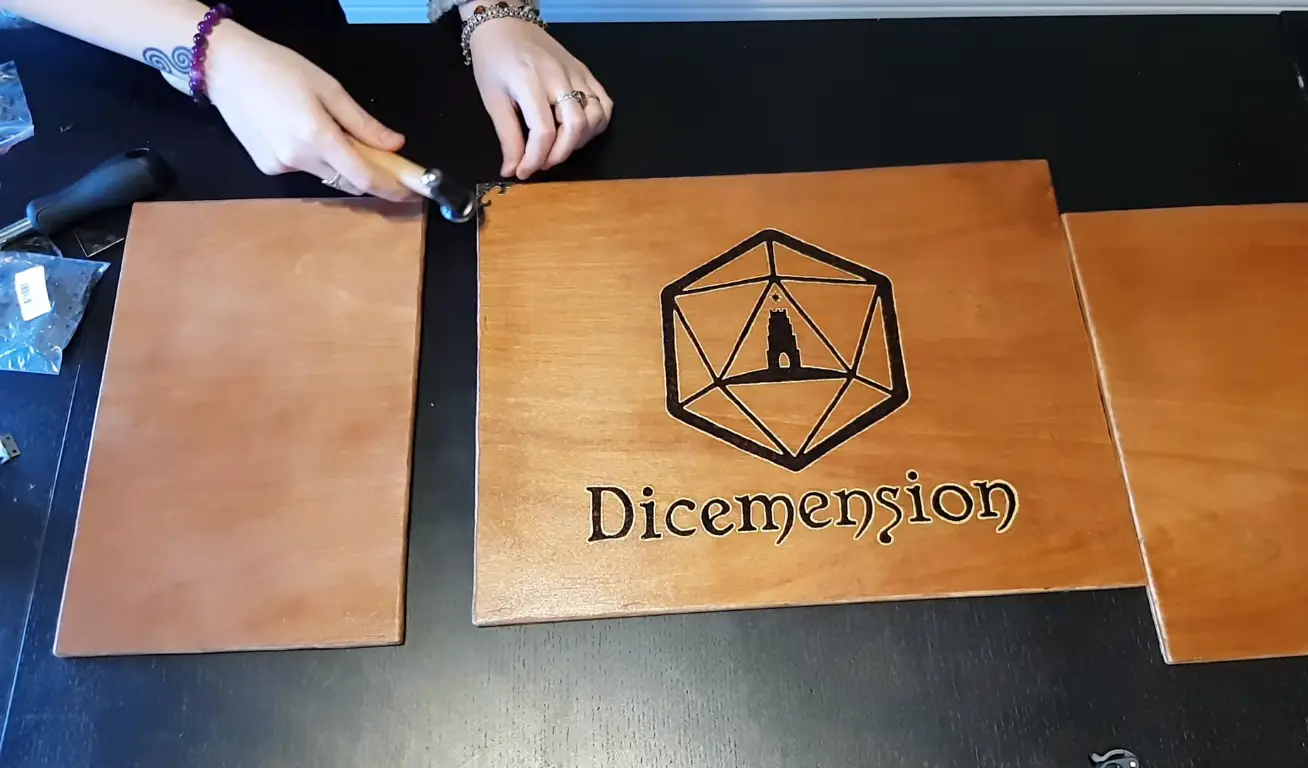
Finally, we need something that makes our DM Screen look awesome! You can use anything here as long as it adds some flair to your game. We recommend printing out artwork online, but you could also use construction paper, fabric, or even a nice piece of wood to cover the front.
How to Make a DM Screen From Wood
Now that we have all of our materials, let’s get started on how to put it all together!
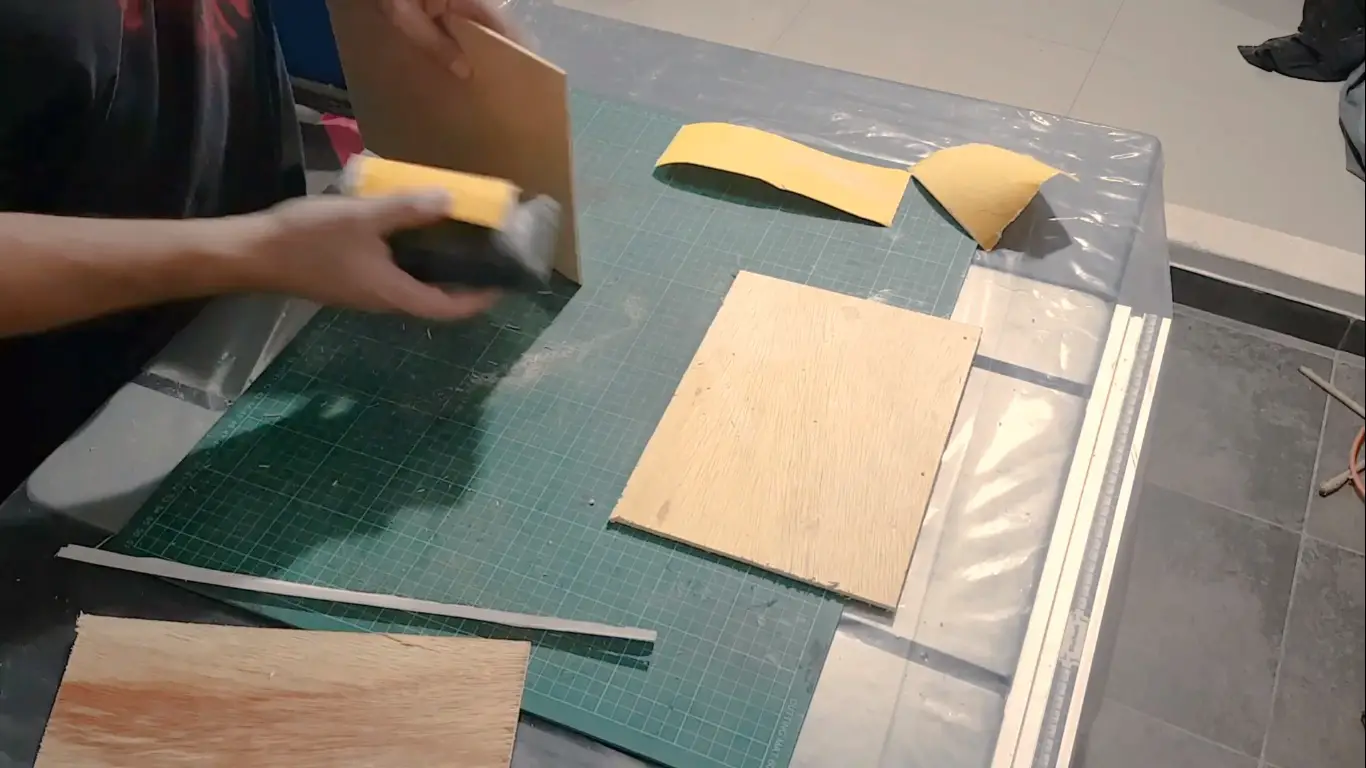
Step One: Sanding
The first step is sanding any sharp edges off of our large piece of wood and also any bumps or lumps from the plywood we’re using for our base. We want to make sure that both pieces are completely smooth before moving on.
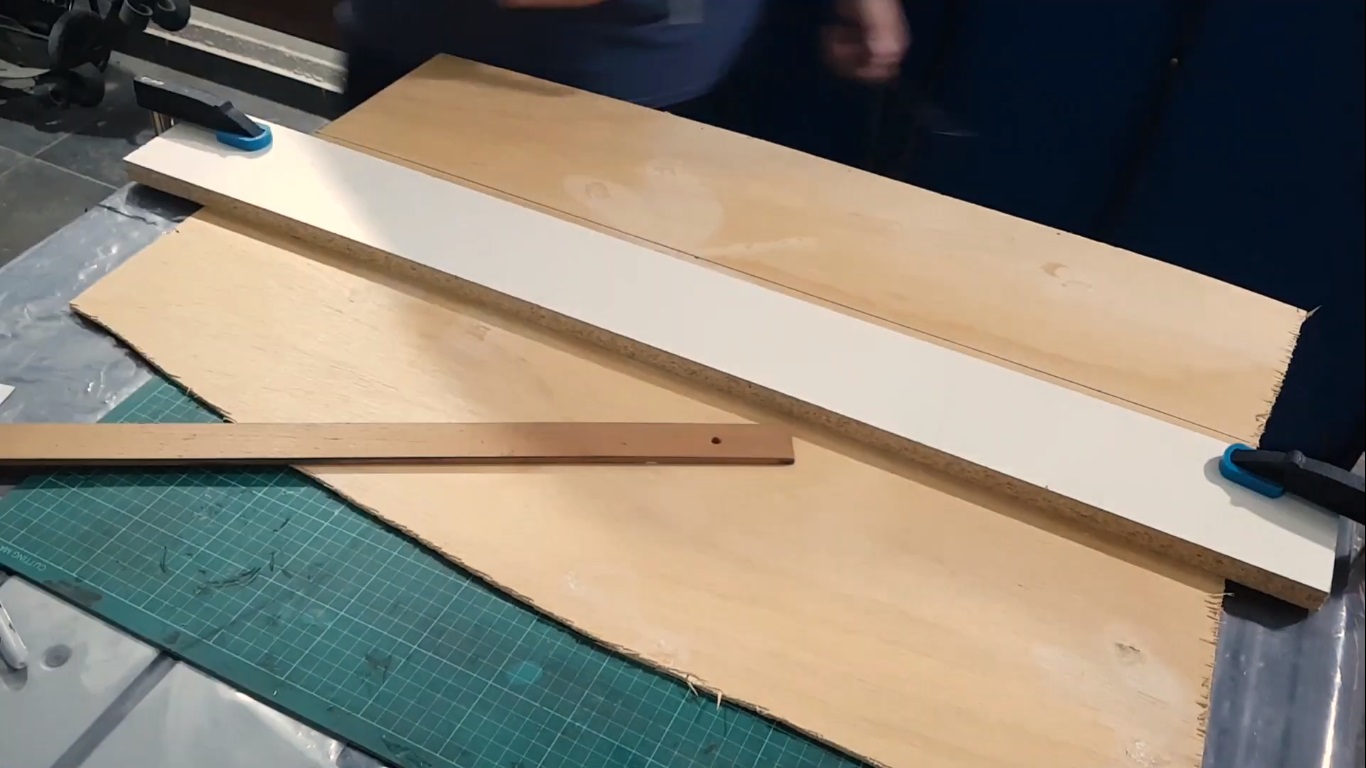
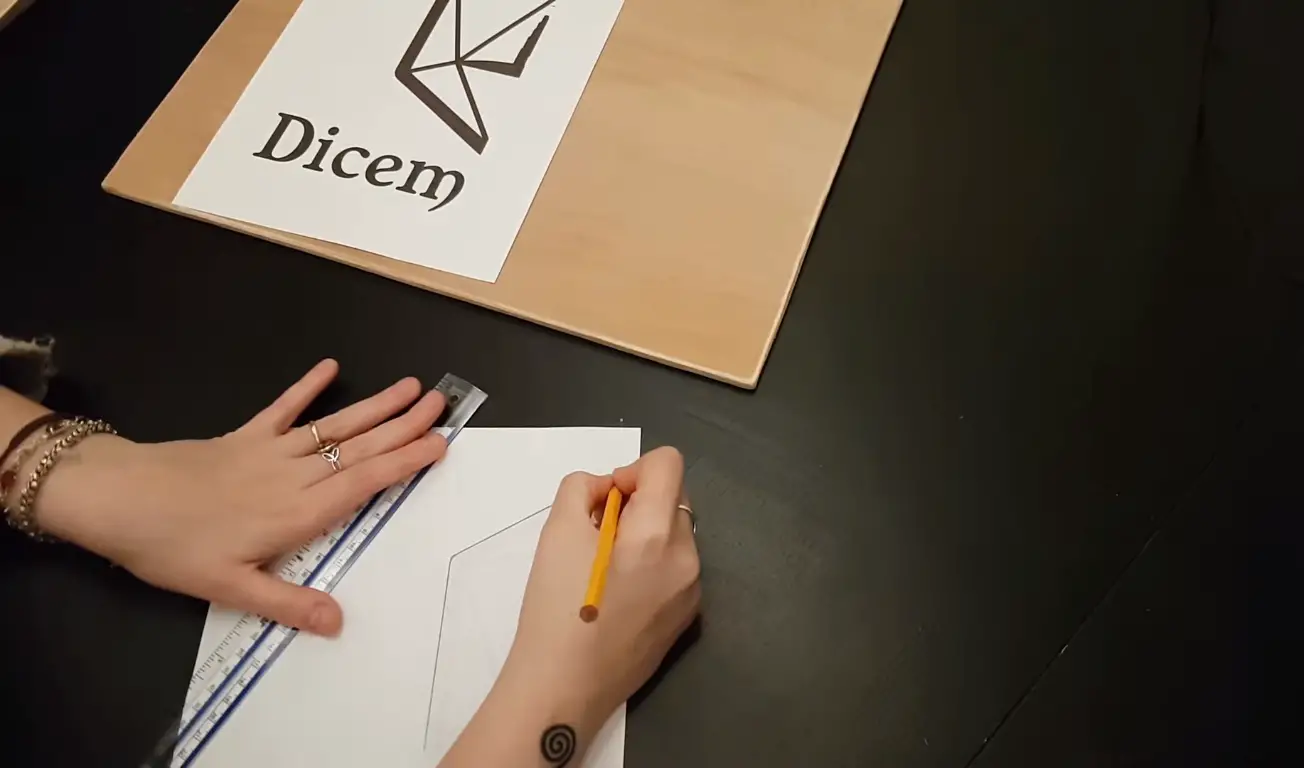
Step Two: Measuring and Cutting
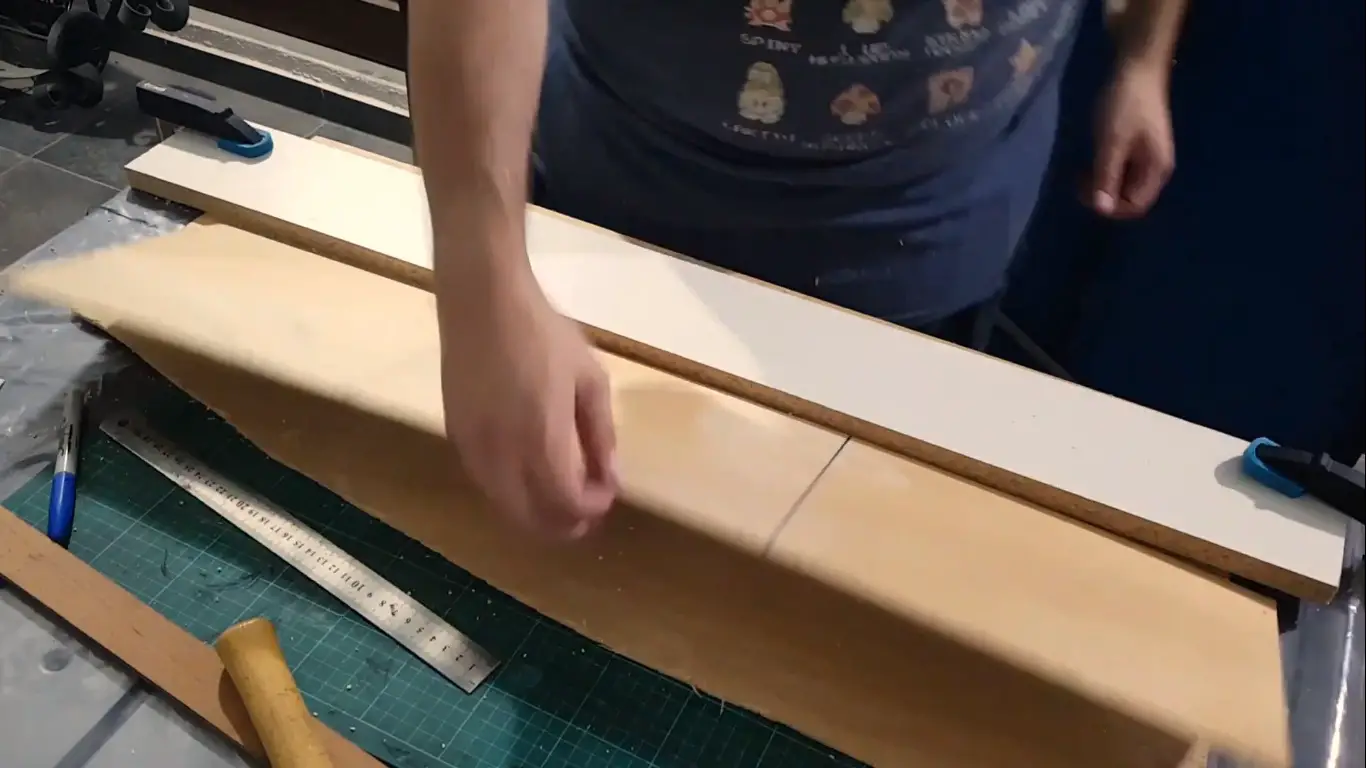
The next step is measuring and cutting the large piece of wood to the size that you want your DM Screen to be. Once you have it measured, use a saw to cut it to the correct size.
Step Three: Assembling the Base
Now that our large piece of wood is cut to size, we need to assemble the base. This is where our thin plywood comes in. We first need to measure and cut two pieces of thin plywood that are the same size as our large piece of wood. Then, we need to attach them together by using a construction adhesive and screws on the backside (the smooth side) of the base plywood that will be facing outwards once it’s assembled into your DM Screen. Once they are attached, you can test how well everything fits together before moving on.
Step Four: Attaching the Foam Padding
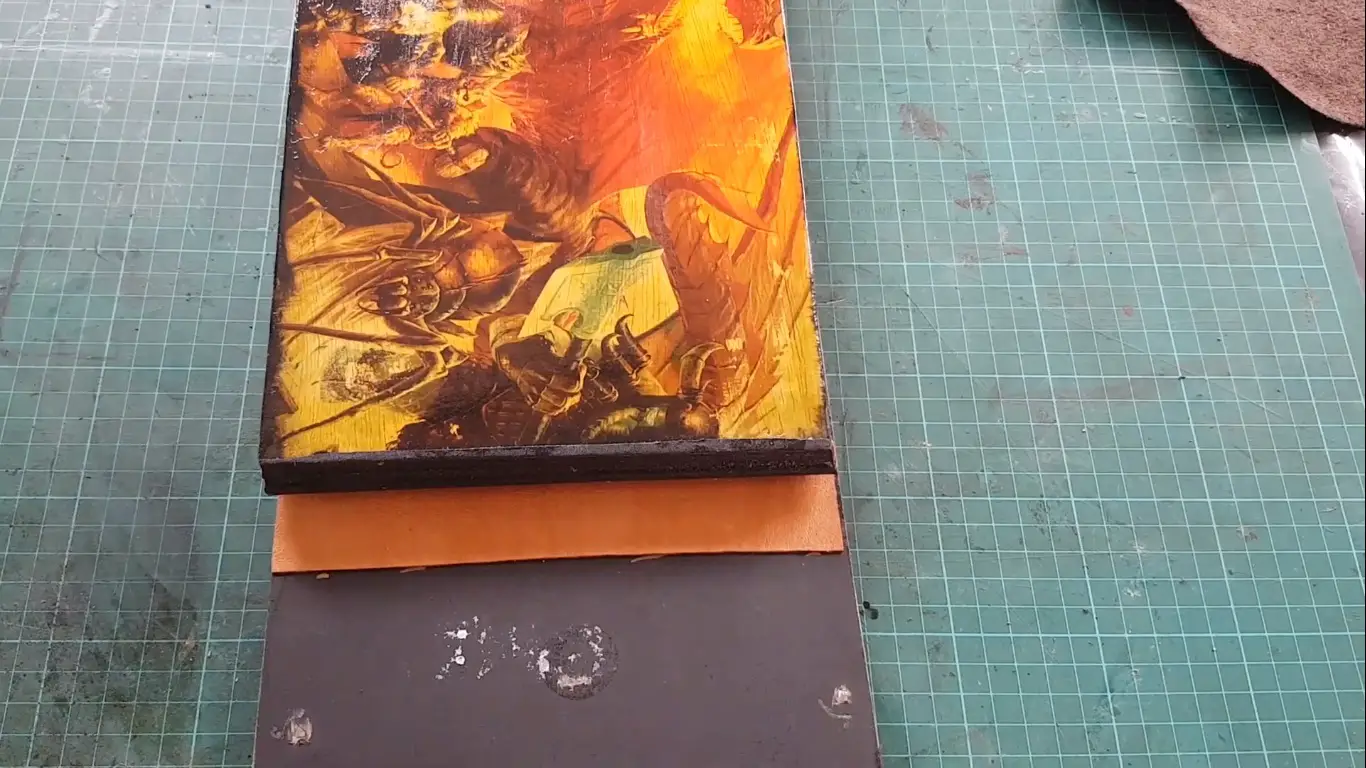
Now that our base is assembled, we can attach some foam padding on top of it. The best thing about this type of foam is that you can buy it in a variety of shapes and sizes, which will come in handy if you are making the screen fit on top of your lap or another weird-shaped surface.
After that, we need to attach our padding onto the plywood base using some construction adhesive. Make sure that it is evenly distributed and that there are no air bubbles before moving on.

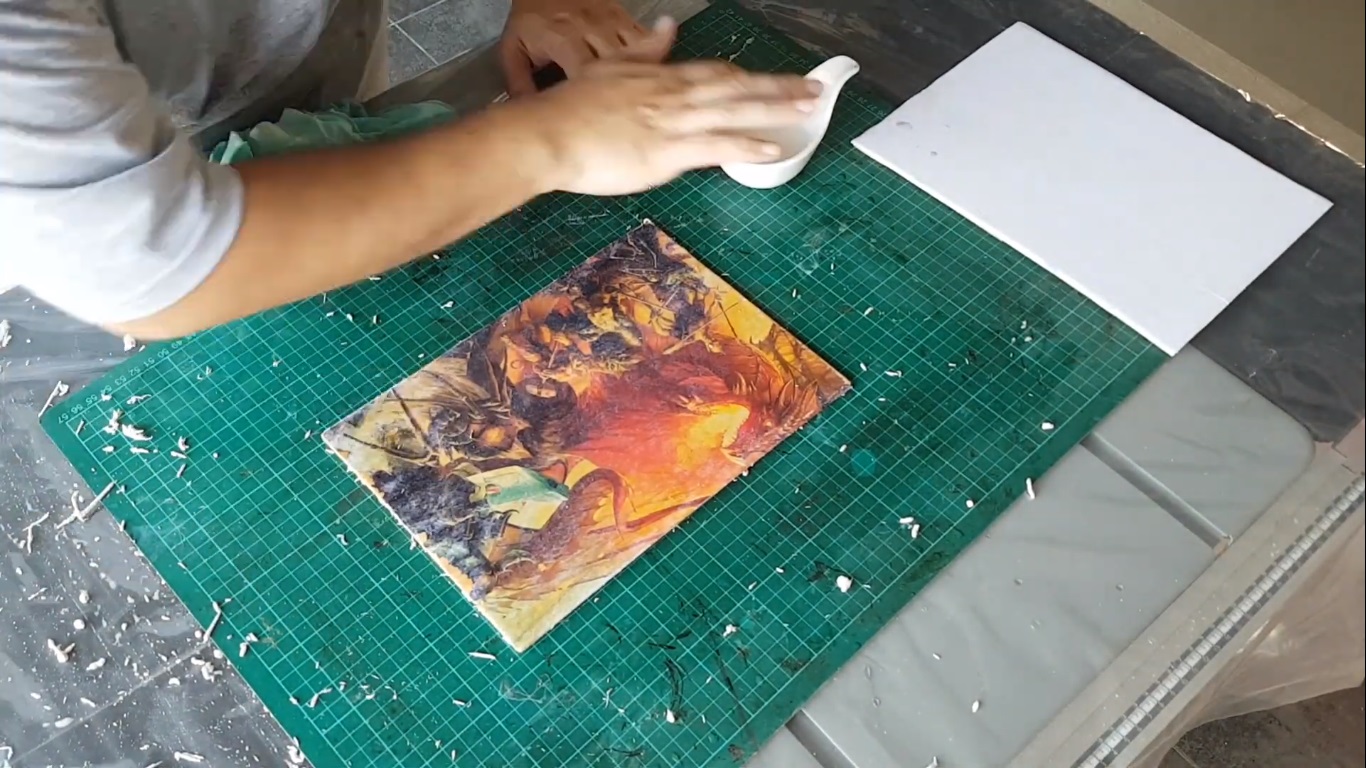
Step Five: Adding the Artwork
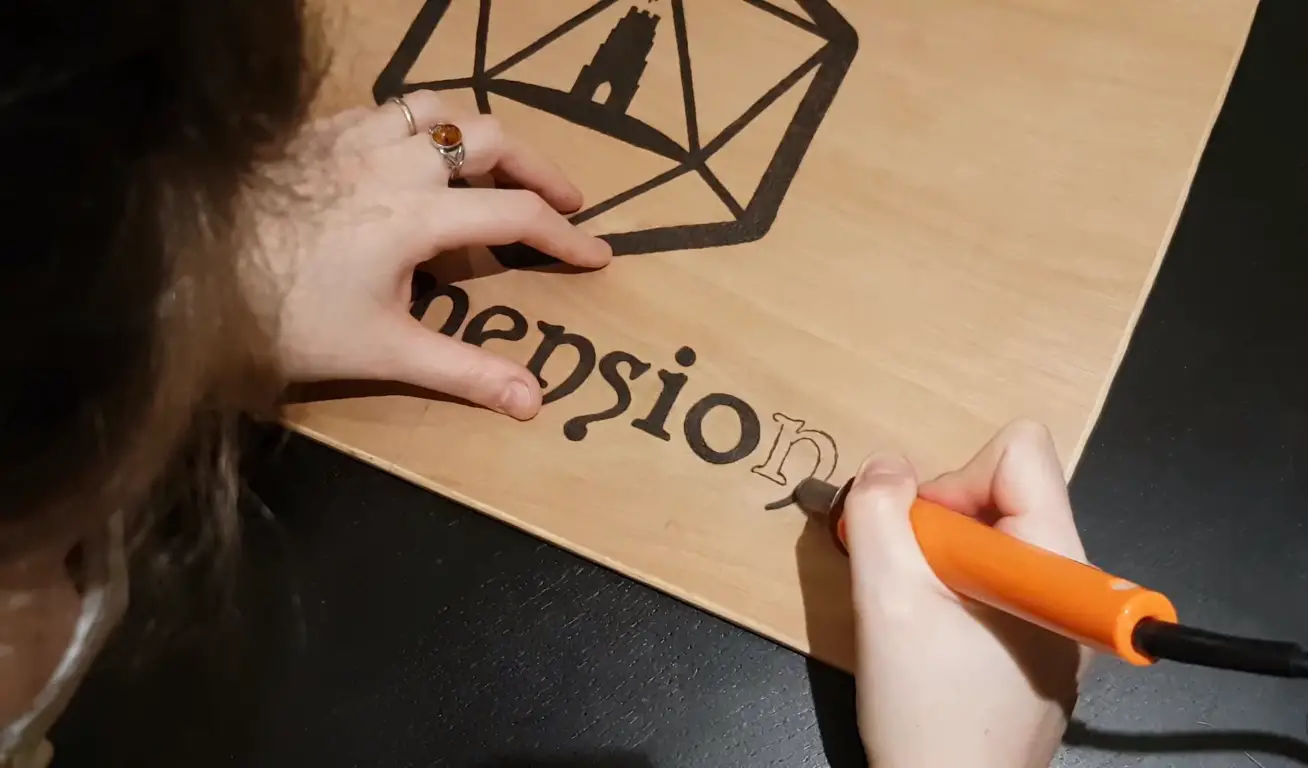
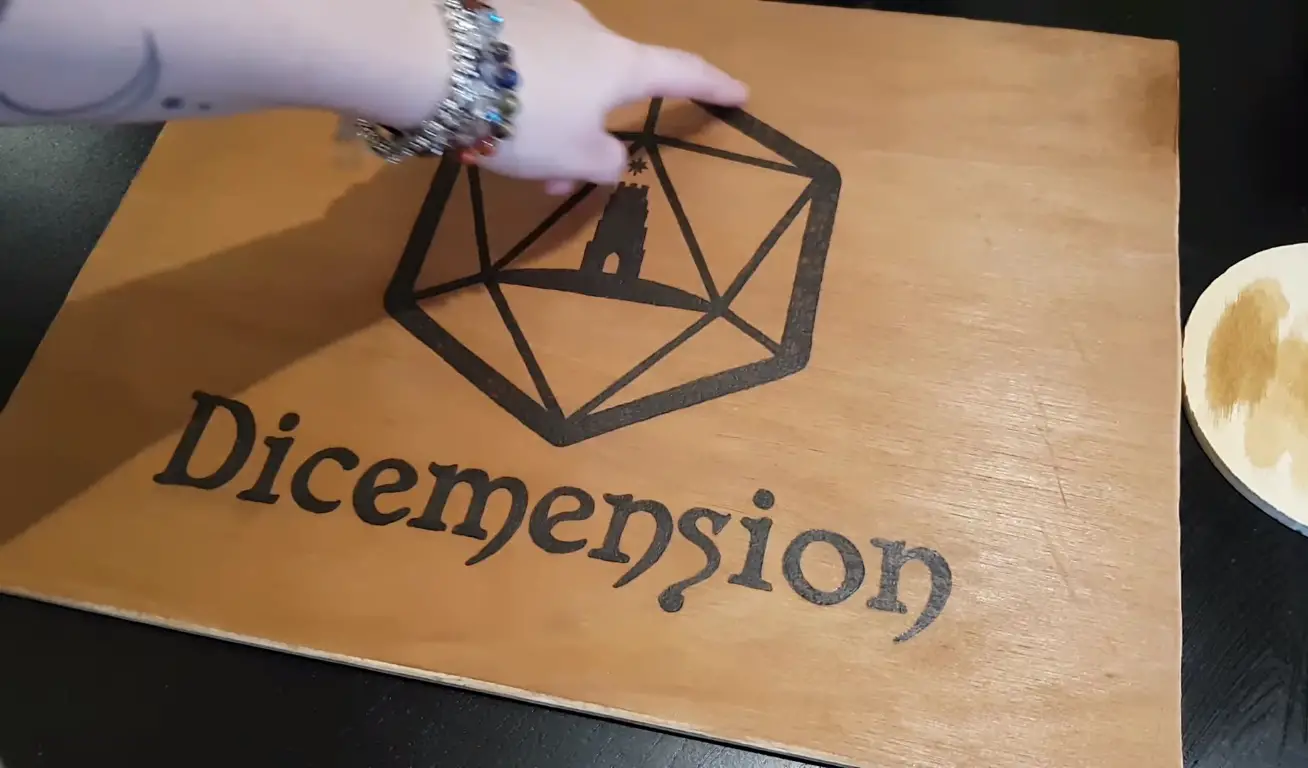
Now that our DM Screen is assembled and has some padding, we can start adding our artwork! We recommend printing out artwork online, but you could also use construction paper, fabric, or even a nice piece of wood to cover the front. You can put whatever you want here, with just a few caveats: Make sure that your artwork is legal in your game system and that it looks great when viewed from both sides! If you are using construction paper or fabric for this step, attach them by gluing down all four corners on one side before flipping it over and doing the same thing to the other side.
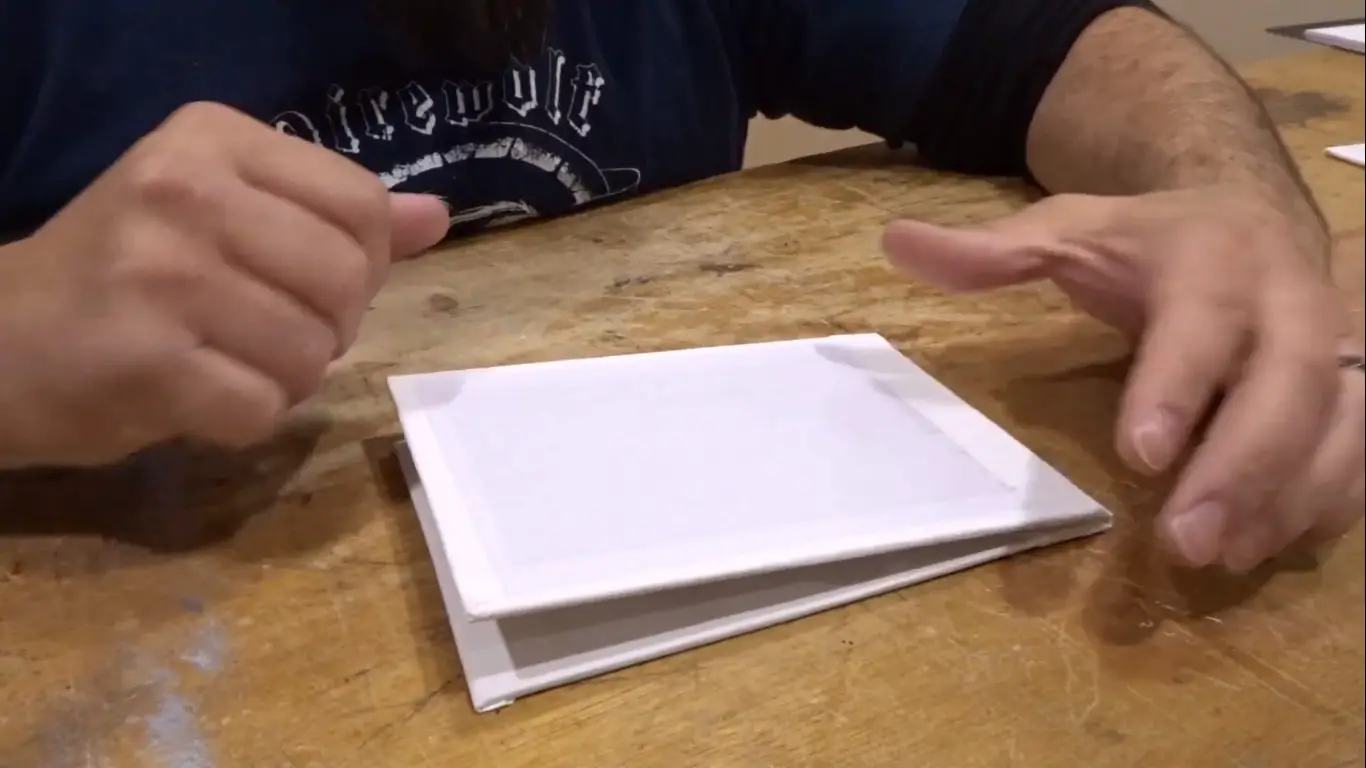
Step Six: Finishing Touches
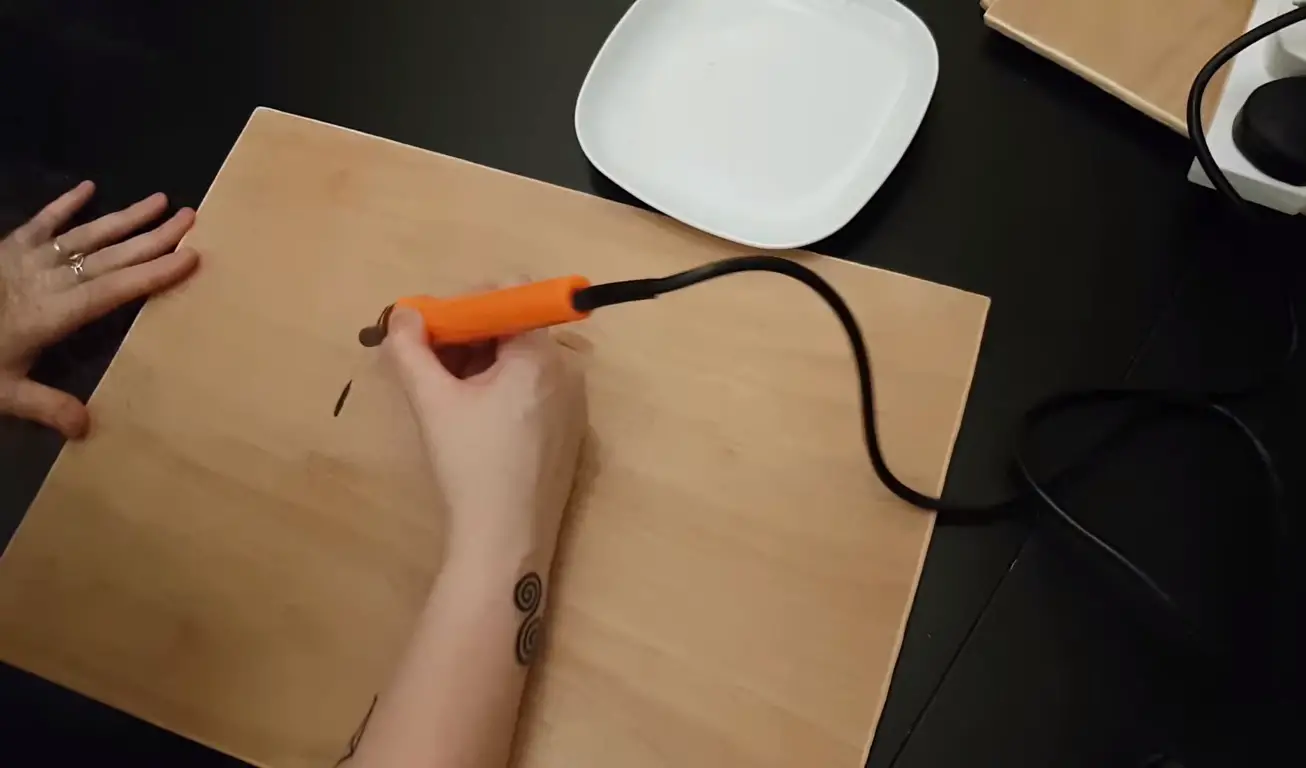
The last step is adding any finishing touches that you might want, such as a handle or some hinges. If you are using a piece of wood for your artwork, we recommend attaching it by drilling two small holes in either corner and using screws to attach it to the backside of the DM Screen. This will make it so that you can easily flip it open and closed without having to remove any screws.
How to Make a DM Screen From Cardboard
The same idea is used when making a DM Screen from cardboard. The only difference is that you will need to use spray adhesive instead of screws and construction adhesive.
Once both sides are attached, you can start attaching your artwork by spraying a small amount of adhesive onto the backside and sticking it on. Make sure that you spray enough so that it will stay in place, but not so much that the cardboard is coming apart at the seams.
Tips for Using Your DM Screen
Now that you have created your very own DM Screen, here are a few tips on how to make the most out of it:
- Make sure that the artwork is legible from both sides. This will ensure that players can see what’s going on no matter where they are sitting in relation to the screen.
- If you are using a piece of wood for the artwork, attach it to the back using screws so that you can easily remove and replace it. This will make transporting your screen much easier if you are traveling with your players!
- Make sure that there is enough padding on either side of your DM Screen. If there isn’t any, then when turning over the cardboard to show the players, they might be able to see the screws or construction adhesive.
- If you are using a piece of fabric for your artwork, make sure that it is attached well and won’t come off easily. You don’t want any accidental reveal in the middle of your game!
- Try out different configurations to find what works best for you. Some DMs like to have the screen open in front of them while others prefer to keep it closed and only use it as a reference.
Experiment until you find what works best for your style of play.
The Importance of Owning a DM Screen
While DM Screens might seem like a luxury, they can actually be very helpful in keeping your game organized and running smoothly. Here are just a few of the benefits that you can get from using one:
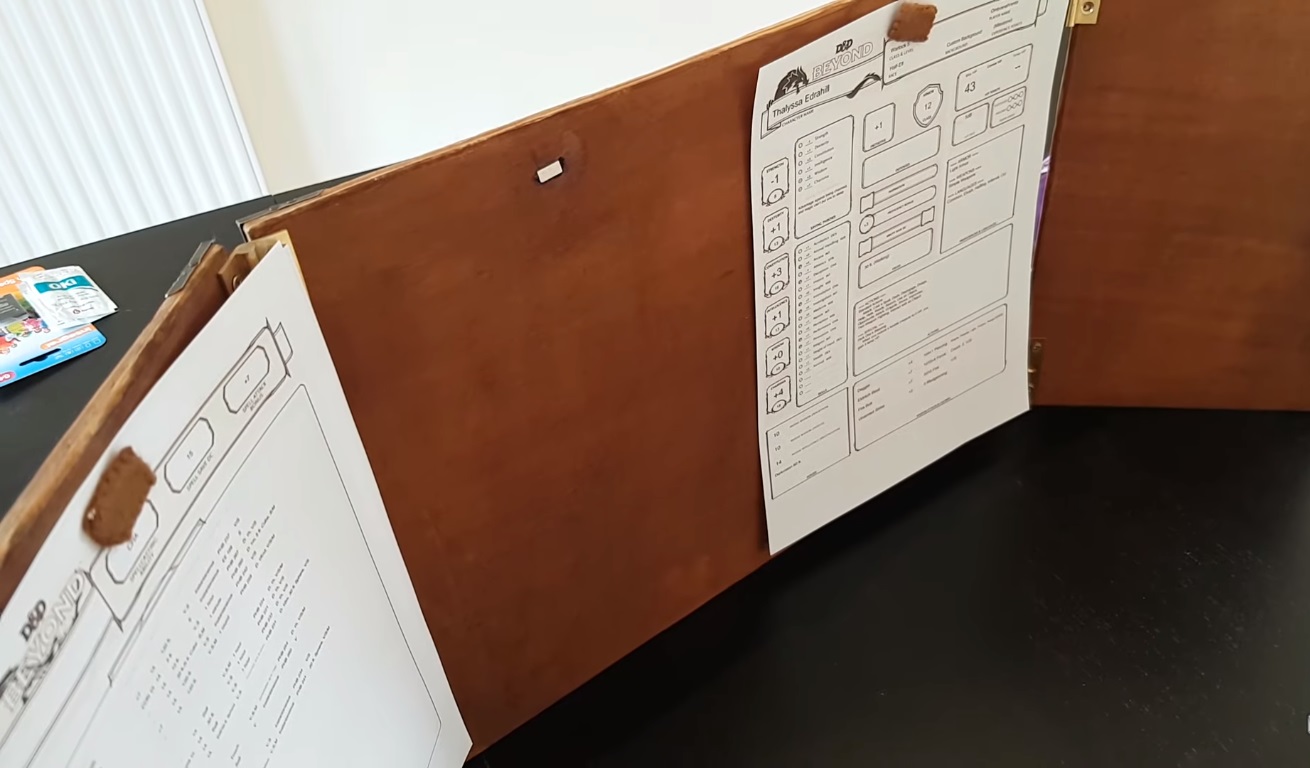
- It can help to keep track of initiative order and other important notes.
- It can provide a handy reference for spells, monster stats, and other important information.
- It can help to keep your game organized and prevent players from seeing your notes or maps.
- It can be a great place to store dice, tokens, and other gaming accessories.
Having a DM Screen is an essential tool for any Dungeon Master, so make sure that you get one sooner rather than later!
Common Mistakes When Making a DM Screen
There are many different ways to make a DM Screen, but that doesn’t necessarily mean that they will all work well. Here are some of the most common mistakes DMs make when making their own screens
Not Using Enough Padding
When making a DM Screen, it is important to make sure that there is enough padding on either side. If there isn’t any, then when turning over the cardboard to show the players, they might be able to see the screws or construction adhesive.
Not Attaching Artwork Securely
If you are using fabric for your artwork, make sure that it is attached well and won’t come off easily. You don’t want any accidental reveal in the middle of your game!
Not Using a Clear Material
When making a DM Screen, it is important to use clear material so that players can see what’s going on without having to open the screen. This will help to keep the game moving smoothly.
Not Considering How the Screen Will be Used
Before making a DM Screen, it is important to consider how you will be using it. Some DMs like to have the screen open in front of them while others prefer to keep it closed and only use it as a reference. Experiment until you find what works best for your style of play.
Not Considering the Size of the Screen
When making a DM Screen, it is important to consider how large it will be. This will help to ensure that all of the information is easily legible from both sides.
Not Using a Template
When making a DM Screen, it is important to use a template so that all of the information will fit on both sides. If you do not have one then there might be too much or too little room for some pieces of art and text. This can cause issues when printing out your screen!
Using Inappropriate Artwork
When making a DM Screen, it is important to use the appropriate material. This means that you should avoid using anything too garish or flashy as this can become distracting during gameplay. For example, bright or neon colors are not ideal for screens with dark backgrounds!
Using the Wrong Dimensions
Before making your screen, make sure that you know what the appropriate dimensions are. If your screen is not the correct size, it might be difficult to read or print out!
Not Considering How to Mount the Screen
Before making a DM Screen, you will need to decide how you will mount it. This can be done by using screws and construction adhesive or Velcro strips. Whichever method you choose, make sure that it is secure and won’t fall apart during gameplay!
Suggestions for How to Customize Your DM Screen
Now that you know how to make a DM Screen, it’s time to start customizing it! Here are some suggestions for ways that you can make your screen unique and perfect for your needs.
Add Your Own Artwork
One of the best ways to customize your DM Screen is to add your own artwork. This can be anything from a simple logo to a full-blown scene.
Include Important Notes and Tables
Another great way to customize your DM Screen is to include important notes and tables. This can be anything from initiative order to spell lists.
Use Different Materials
You can also customize your DM Screen by using different materials. This might include using a different color, pattern, or even texture.
Use Different Sizes and Shapes
Lastly, you can customize your DM Screen by using different sizes and shapes. You might want to use a square instead of a rectangle or vice versa! Just make sure that it will work well for how you plan on using your screen before making any final decisions.
Conclusion
As you can see, there are many benefits to owning a DM Screen. While most people think that they are only useful for DMs who run long campaigns or play in groups regularly, it turns out that they have lots of different uses! From organizing your game and containing notes to serving as a reference tool and preventing players from seeing certain information, they are an incredibly useful tool. Make sure that you get one soon so that you can start using it to improve your game!